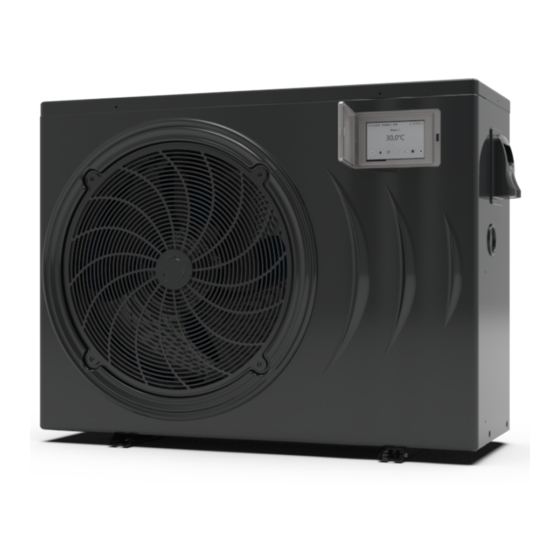
Duratech DURAPRO-12 매뉴얼 - 페이지 5
{카테고리_이름} Duratech DURAPRO-12에 대한 매뉴얼을 온라인으로 검색하거나 PDF를 다운로드하세요. Duratech DURAPRO-12 14 페이지.

3.3 Installation illustration
Remarks:
The factory only provides the heat pump. Other parts, including a contingent by-pass are to be
provided by the user or installer.
Attention:
Please take the following steps when installing the heat pump:
1. Each addition of chemicals has to be performed through the conduits located AFTER the heat pump.
2. Install a by-pass for easy maintenance
3. Always place the heat pump on a solid base and use the supplied silent blocks in order to avoid
vibrations and noise.
4. Always keep the heat pump in upright position. If the unit has been tilted, you should wait for at least
24 hours before turning it on.
3.4 Installation of a check valve
When using automatic chlorine and pH dosage systems, it is of uttermost importance to protect
the heat pump from high concentrations of these chemicals that could corrode the heat exchanger
Therefore, such systems should add the chemicals in the conduits located DOWNSTREAM of the
heat pump and it is recommended to install a check-valve in order to prevent backflow when there
is no water circulation.
Damage to the heat pump caused by disregarding any of these recommendations will invalidate
the warranty.
8
3.5 Electrical Wiring
Important - Although the heat pump is electrically isolated from the rest of the unit, this
only prevents the passage of electricity to or from the pool water. Grounding the unit is still
required to protect yourself from short circuits inside the unit. Make for adequate ground
connection.
Check if the electrical mains voltage corresponds with the operating voltage of the heat pump
prior to hooking up the unit.
It is recommended to use a separate fuse (C-curve) as well as adequate wiring (see table below).
Connect the electrical wires with the terminal block labelled 'TO POWER SUPPLY'.
Next to this connection, there is a second terminal block labelled 'TO PUMP', to which the filter
pump (max. 5A/240V) or an electrical relay for a filtration pump can be connected. This
connection makes it possible to control filter pump operation with the heat pump.
Model
Voltage (V)
Fuse (C-curve)
DURAPRO-12
220-240V
DURAPRO-17
220-240V
DURAPRO-21
220-240V
DURAPRO-25S
220-240V
DURAPRO-28TS
3 x 400V
3.6 Initial startup of the Unit
NOTE- In order for the unit to heat the pool or spa, the filter pump must be running to
circulate water through the heat exchanger.
Start up Procedure - After installation is completed, you should follow these steps:
1. Turn on your filter pump. Check for water leaks and verify flow to and from the pool.
2. Turn on the electrical power supply to the heatpump, then press the key ON/OFF of wire con
troller, It should start in several seconds.
3. After running a few minutes make sure the air leaving the fan opening of the unit is cooler
(between 5-10°C)
4. With the unit operating turn the filter pump off. The unit should also turn off automatically,
5. Allow the unit and pool pump to run 24 hours per day until desired pool water temperature is
reached. When the desired pool water temperature reaches the setting, the unit just shuts off.
The unit will now automatically restart (as long as your filter pump is running) when the pool
temperature drops more than 2°C below set temperature.
Time Delay- The unit is equipped with a 3 minute built-in solid state restart delay included to
protect control circuit components and to eliminate restart cycling and contactor chatter.
This time delay will automatically restart the unit approximately 3 minutes after each control
circuit interruption. Even a brief power interruption will activate the solid state 3 minute
restart delay and prevent the unit from starting until the 5 minute countdown is completed.
Power interruptions during the delay period will have no effect on the 3 minute countdown.
Max current (A)
Cable section
20
13
2,5mm
20
13,96
2,5mm
32
21,17
4mm
40
22,73
4mm
32 (3 Phase)
12,99
2,5mm
2
2
2
2
2
9
