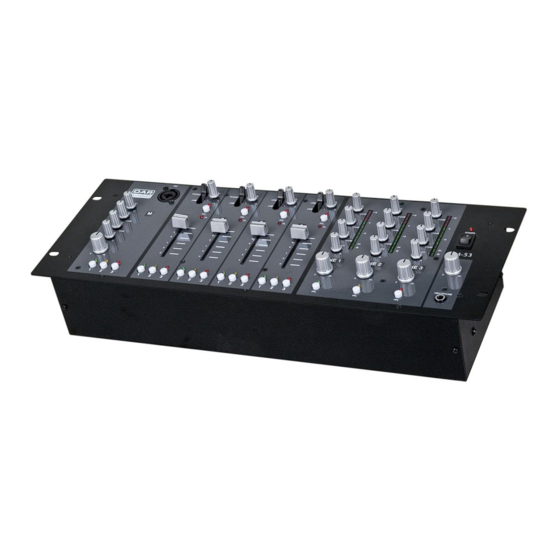
DAPAudio IM-53 매뉴얼 - 페이지 9
{카테고리_이름} DAPAudio IM-53에 대한 매뉴얼을 온라인으로 검색하거나 PDF를 다운로드하세요. DAPAudio IM-53 15 페이지. Installation mixer

Installation
Remove all packing materials from the IM-53. Check that all foam and plastic padding is removed.
Connect all cables.
Always disconnect from electric mains power supply before cleaning or servicing.
Damages caused by non-observance are not subject to warranty.
This basic channel setting leaves you at least 8dB headroom. This means, you have at least 8dB before
signal clipping. If you want to make further adjustments to the channel's EQ setting, you should repeat
step 3 and 4 again.
2 / 3. EQ HIGH / LOW
The mixer's Equalizer section allows shaping of the incoming audio signal. The Mic channel is fitted with a
2-band EQ. The upper (2) and lower (3) shelving controls have their frequencies fixed at 10 Khz and 50 Hz
respectively.
5. PAN
By using the PAN control you can change the input signal's position within the stereo image. When the
PAN control is set to center position, the audio signal is equal for both the left and right bus.
6. MIC
Electronically balanced XLR-type input for connecting low-impedance microphones. The input has
extremely low noise and hum. When connecting a microphone make sure that the pin assignment is
correct. Always make sure to read the manual of the microphone you want to connect. The XLR-input is
not suitable for connecting an additional mixing console, FX-unit, etc. You have to use the LINE-inputs,
when connecting this kind of equipment.
Note: When connecting signal sources, please make sure that the corresponding channel faders and the
master faders are at their minimum settings. Otherwise unpleasant plug-in noise can occur.
7. Zone Assign (Zone 1, 2 and 3)
You can assign the output of a channel to each of the 3 zones.
1. Gain
Mic Channel input level is determined by the Gain control.
With the Gain control you can adjust the MIC input-sensitivity, while
optimally matching the incoming signals to the mixer's internal operation
level. When dealing with very low input levels (example vocal recordings or
distant sound sources) the high gain is extremely profitable.
How to set the Input level:
1) Set the gain control to its minimum setting. Set the level pot and the
master fader to ¾ of their stroke.
2) Connect a microphone MIC input (6).
3) Sing or speak as loud as possible directly into the microphone.
4) While doing so, adjust the input level using the gain control, so that
during the loudest passages the VU-meter of the master channels
displays values around 0 dB.
7
