APLICOM A9 PRO 설치 매뉴얼 - 페이지 2
{카테고리_이름} APLICOM A9 PRO에 대한 설치 매뉴얼을 온라인으로 검색하거나 PDF를 다운로드하세요. APLICOM A9 PRO 13 페이지. Telematics unit
APLICOM A9 PRO에 대해서도 마찬가지입니다: 빠른 설치 매뉴얼 (2 페이지)

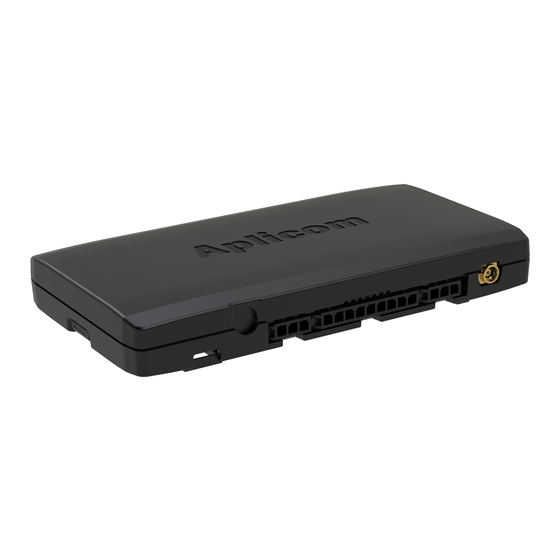
Package content
Figure 1.
Preparation and installing of the A9 PRO unit
The following steps must be made in right order to start the unit immediately for full operation.
1. Open the unit
2. Install SIM card
3. Close the unit
4. Connect external power cabling and other needed connections
5. Mechanically install the unit to carefully selected place
6. Connect the vehicle power supply to A9 wiring power supply with fuse protection
Insert the SIM card by opening the A9 PRO unit. Press locking lid on the other end of the device and at the same time lift up top case on locking side. Finally
remove entire top case carefully and insert the SIM. Figures 2, 3 and 4.
Connect the Power and IO cable (D337300) and GPS antenna (D593563). Figure 5.
A9 PRO Unit
Power and IO cable for A9 PRO (D337300)
Dual lock fastener (4200100)
SIM card is also needed. Order card from teleoperator or from Aplicom.
Options
GPS antenna (D593563)
iButton reader for A9 (D337010)
Aplicom contactless CAN reader for 12..24V supply (D350650)
3PAD (D324310)
2
