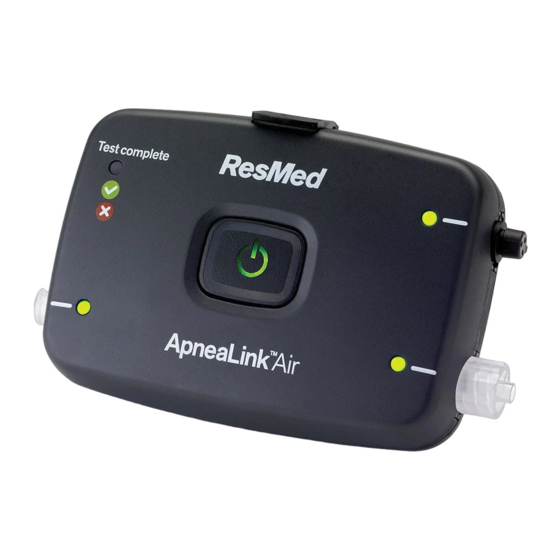
ApneaLink Air 환자 지침
{카테고리_이름} ApneaLink Air에 대한 환자 지침을 온라인으로 검색하거나 PDF를 다운로드하세요. ApneaLink Air 2 페이지.

Getting Started
Remove the device from the bag. It will arrive with all sensors attached to the
device. Do not disconnect the sensors from the device. You will also find tape
strips included in the bag and possibly an extra set of batteries (for multiple
night use).
Fitting the Belt
1. Pull the belt around your body. Thread the end of the belt through the
slot on the effort sensor and fasten the tab to the belt.
2. Check that the belt is secure and comfortable and that the device is
positioned over center of your chest (females position above breasts).
3. Slide the finger sensor cable clip onto the belt. The clip should be on the
same side of your body as the finger sensor.
Fitting the Cannula
1. Insert the prongs into your nostrils. Make sure the curved side is
pointing towards the back of your nose.
2. Loop the plastic tubing around your ears.
3. Pull the slider up towards your chin unit the plastic tubing is secure
and comfortable. Use provided tape to secure cannula to each cheek
Fitting the Finger Sensor
Slide the gray, rubber finger sensor over your finger. It
can be positioned on any finger but should not be used
on a finger with dark nail polish or acrylic fingernails.
Use the provided tape to secure the finger sensor cable to
the back of your hand.
ApneaLink Air
Patient instructions
Starting the Test
1. Press and hold the power button in the center of the device for
about 2 seconds or until the light turns on.
2. Check that the lights next to the sensor connections are green. The
lights may blink back and forth from red to green, this is normal and
should resolve to steady green once you fall asleep and are still. If the
lights are solid red readjust the sensors and make sure they are
positioned correctly on your body.
3. Go to sleep as normal.
Ending the Test
1. Press the power button for about 2 seconds.
2. Check that the test complete indicator light is lit and green. This
means the test is complete. If the test complete indicator light is red
contact the testing facility.
3. Press and hold the power button for about 2 seconds to power off
the device.
Returning the Device
1. Remove the cannula from your nose and the sensor from your
finger.
2. Remove the belt from your body and place the device and the
attached sensors back into the bag it came in.
3. Place the bag and completed paperwork into the mailing box the
device was shipped in.
4. Place the included shipping label on the box (covering the
original shipping label) and ship.
Instrucciones españolas en revés
