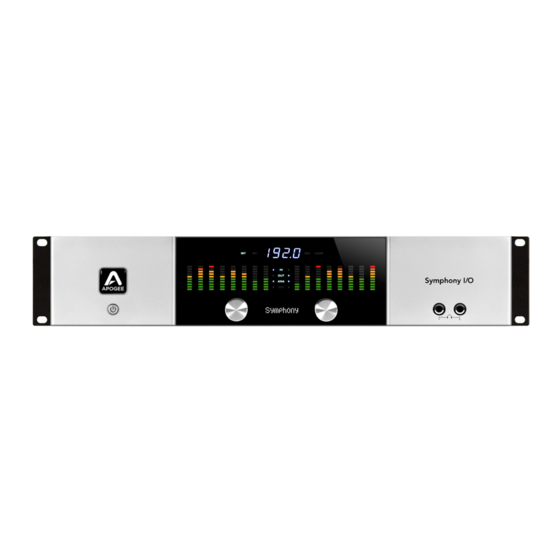
Apogee Symphony I/O 지침 및 매뉴얼 - 페이지 5
{카테고리_이름} Apogee Symphony I/O에 대한 지침 및 매뉴얼을 온라인으로 검색하거나 PDF를 다운로드하세요. Apogee Symphony I/O 9 페이지.

Symphony I/O Systems: 2 Units
NOTE: As of January 28, 2011, a maximum of 2 units is supported. Daisy chaining units
is not supported. The Secondary PC32 port on the back of the Symphony I/O is not yet
functional.
Pro Tools HD
✴ Software Release Beta 3.1 or later must be downloaded from ApogeeDigital.com
and installed. Following installation restart your computer.
✴ Power off Symphony I/Os
✴ Connect Loop Sync BNC cables to proper connectors in back of unit (Loop Sync Out
on Unit A to Loop Sync In on Unit B and vice versa). Make sure you don't
accidentally connect to the WC connectors!
✴ Connect 1st Symphony I/O to port of HD core card.
✴ Connect 2nd Symphony I/O to port of 2nd HD card.
✴ Power up units. Set both Symphony I/Os in "Pro Tools HD" Audio Interface Mode
(hold in the right encoders to check and change if needed)
✴ Launch Maestro 2 (Maestro 2 is Intel Mac only). Go to the "System Setup" tab and
check the checkbox "use Loop Sync" (in some versions of the software, the box is
ALWAYS checked and it's grayed out- this is normal). Also verify that unit A is the
"loop sync master" in the drop-down menu next to the checkbox.
✴ Wait for both units to lock. Unit A should be clocked to Internal displaying "INT" and
Unit B should display "LOOP".
© Copyright 2011, Apogee Electronics.
The information in this document is confidential and proprietary. Redistribution without consent is strictly prohibited.
5
