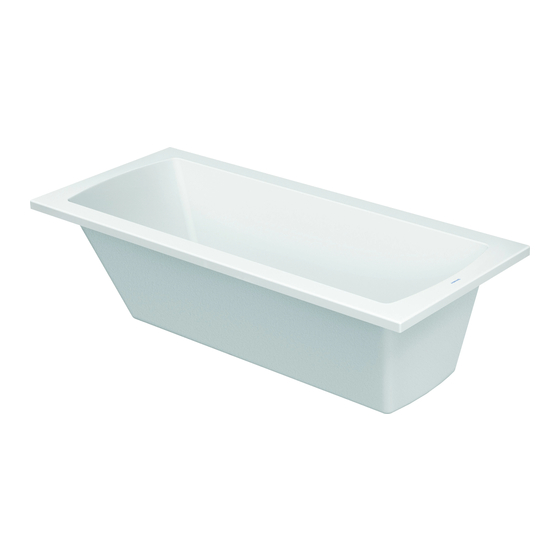
DURAVIT 700191 설치 지침 - 페이지 6
{카테고리_이름} DURAVIT 700191에 대한 설치 지침을 온라인으로 검색하거나 PDF를 다운로드하세요. DURAVIT 700191 16 페이지. Bathtubs built-in

de
Montage
Vor der Installation Wanne auf mögliche Schäden prüfen.
wanne mit Möbelverkleidung: Boden und Wand am Installationsort
müssen eben und fertig gefliest sein.
1
Schraubfuß wie gezeigt vormontieren.
2
Schraubfuß durch das Langloch des Rahmens stecken.
3
Obere Mutter aufdrehen.
4
Das Langloch ermöglicht ein seitliches Verstellen des Schraubfußes
um bis zu 140 mm.
5
Karton als Kratschutz auf dem Boden ausbreiten und die Wanne auf
den Kopf stellen.
6
Fußgestell auf der Wannenunterseite ausrichten und sicherstellen,
dass der Abstand zwischen den beiden Füßen ca. 600 mm beträgt.
7
Füße an der Wanne festschrauben.
8
Ab-/Überlaufgarnitur montieren.
9
Wanne auf die Füße stellen.
10 Die Badewannenfüße einstellen, bis der Badewannenrand hori-
zontal ausgerichtet ist.
wanne mit Möbelverkleidung: Die Höhe zwischen der Unterkante
der Badewanne und dem Boden muss x mm betragen.
x = Höhe der Möbelverkleidung + 4 mm
11 Kontermutter anziehen.
12 Zur Installation der Wannenanker die Oberkante der Wanne an der
Wand anzeichnen.
13 Für Happy D # 700172 - 700174:
Wannenankerlöcher anzeichnen.
Die 3 Löcher bohren.
Die Dübel anwenden.
14 Wannenankerlöcher anzeichnen. Einen Abstand von 70 mm (wanne
mit Möbelverkleidung: 140 mm) zwischen der Wannenecke und
dem Wannenankerloch lassen.
Die 3 Löcher bohren.
Die Dübel anwenden.
15 Wannenanker befestigen.
16 Wannenränder mit einem sauberen Tuch und Haushaltsbenzin von
Schmutz, Staub und Fettrückständen befreien.
Den schmalen Streifen des Wandprofils an den senkrechten Wannen-
rand ankleben.
6
BA_M_Einbau / 05.10.6
en
Mounting
Before installing please check your bathtub for damage (caused during
transport).
Bathtubs with furniture panel: The floor and the wall at the site of
installation must be level and already tiled.
Assemble the foot as shown.
Insert the foot through the slot of the support frame.
Attach the upper nut.
The slot allows the position of the foot to be adjusted to the sides by up
to 140 mm.
Spread cardboard or other similar material on the floor to prevent scrat-
ching and turn the bathtub carefully upside down.
Position the support frame onto the base. Make sure that there is a
distance of approx. 600 mm between the feet.
Screw the frame to the bathtub with the screws provided.
Attach the outlet and overflow to the bathtub.
Place the bathtub on its feet.
Adjust the feet accordingly to make sure that the bath tub is level.
Bathtubs with furniture panel: The distance between the sub rim of the
bathtub and the floor must be x mm.
x = height of the panel + 4mm
Tighten the locknut.
Mark the upper edge of the bathtub on the wall for the wall brackets.
For Happy D # 700172 - 700174:
Mark holes for the brackets.
Drill the 3 holes.
Insert the raw plugs.
Mark holes for the brackets. Leave a distance of approx. 70 mm (Bathtubs
with furniture panel: 140 mm) between the corner of the whirltub and
the hole.
Drill the 3 holes.
Insert the raw plugs.
Affix the wall brackets.
Clean the surface with white spirit on a clean cloth to remove any dirt,
dust and grease.
Stick the narrow strip of the noise reduction tape (if purchased) to the
vertical edge of the bathtub tray.
