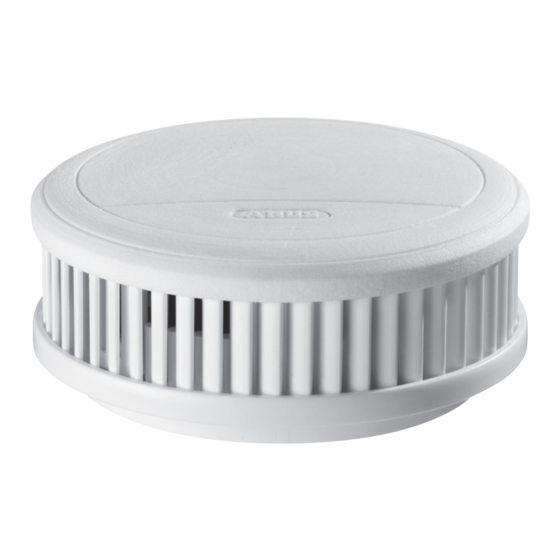
Abus RM20 사용자 설명서 - 페이지 7
{카테고리_이름} Abus RM20에 대한 사용자 설명서을 온라인으로 검색하거나 PDF를 다운로드하세요. Abus RM20 13 페이지. Smoke alarm device with heat alarm function

tones, the unit will continue to
function for a maximum of 60 days
and needs to be replaced before this
60-day period has expired!
INSTALLATIoN
The RM 20 is hold in place by a
magnetic mount. This mount can
be fastened to the ceiling in two
different ways, as described below.
Please note that only one side of the
magnet can attract the unit
magnetically.
ADHESIVE MoUNTING
To mount the device using adhesion,
only the adhesive included with the
product may be used! The assembly
site must be fixed, dry and free of
grease, dust and loose paintwork
etc. As shown in (Fig. 3), remove the
information sticker and the protective
film from the applied adhesive and
press the magnet carrying frame to
the assembly position firmly for
approx. 10 seconds. Then you can
place the device on the magnet
carrying frame (Fig. 1, III.). The
adhesive bond will reach its ultimate
strength after approx. 72 hours.
DRILLING
Drill a hole into the installation
surface with a 6 mm drill bit and
insert the supplied 6 mm wall plug
into the hole. Guide the supplied
5 mm countersunk head screw through
the underside of the magnetic mount
(Fig. 4) pictured below so that the
screw with be flush with the
magnetic mount when it has been
screwed into the wall plug. Push the
screw through the drilled hole.
The screw must be fully screwed into
the recess provided on the magnetic
mount to ensure that the unit is held
securely. Take care not to fasten the
– 18 –
Fig. 3
