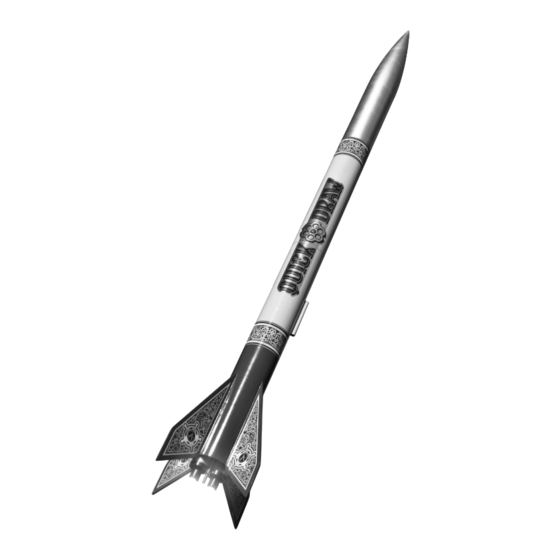
Apogee QUICK DRAW 매뉴얼 - 페이지 11
{카테고리_이름} Apogee QUICK DRAW에 대한 매뉴얼을 온라인으로 검색하거나 PDF를 다운로드하세요. Apogee QUICK DRAW 12 페이지.

Launch Supplies Needed:
Launch Supplies Needed:
To launch your rocket you will need:
● A launch pad with a 1/4" (6mm) launch rod and a launch
controller as suggested by the motor manufacturer
● Recovery Wadding
● Engines such as those recommended in the motor charts.
*Go to our website for a broader motor selection for this
kit at
https://www.apogeerockets.com/Model-Rocket-Kits/Skill-Level-4-
Model-Rocket-Kits/QuickDraw#motors
Rocket Preflight:
Rocket Preflight:
A. Attach the shock cord to the selected removable mount
(these preflight instructions demonstrate all the steps
with the 3x24mm removable mount, but any of the other
BT-80 Quick Change Motor Mount System removable
mounts work in precisely the same manner). The shock
cord attaches with a slip knot. To create the knot, pass
the shock cord through the loop on the motor mount then
pass the loop on the shock cord over the aft end of the
motor mount. Finally pull the slip knot tight.
B. Taking care to avoid the shock cord becoming caught in
the latch area, insert the removable mount into the rear of
the Quick Draw and rotate the mount until it drops into the
slots in the fixed mount. Holding the rocket vertical here
can be helpful to allow the shock cord to pass through
the fixed mount. Finally rotate the mount clockwise until it
seats completely.
C. Crumple and insert 5 or 6 sheets of recovery wadding
into the front of the lower body tube, pushing it into posi-
tion with a dowel.
D. Fold the parachute in an orderly fashion by first folding
the parachute in half, then folding opposite pairs of rings
together until all of the shroud lines end up together. Fold
the shroud lines onto the parachute and fold it in half long
ways to surround the shroud lines. Fold the parachute
again – this time the other way – to shorten the whole
package. Then roll the parachute package slightly to
compress it further. Insert first the shock cord and then
the parachute into the rocket, then slide on the payload
section.
4x24mm Motor Mount (Sold Separately):
4x24mm Motor Mount (Sold Separately):
Manufac-
Engine
turer
Loaded
Estes
4 x C11-5
Estes
4 x D12-7
Quest
4 x D22-7
Cesaroni
4 x E31WT-9
Estes
4 x E12-8
Quest
4 x E26W-10
Apogee
4 x E6-8
Pass main shock
cord through loop
Step A
Insert motor
mount into rocket
Step B
Step C
Step D
Est. Altitude
Motor Type
Ft
Single Use
575
Single Use
1325
Single Use
1542
Reloadable
2007
Single Use
2097
Single Use
2944
Single Use
3314
Loop over aft end
of motor mount
Pull knot
tight
Rotate clockwise
to latch in place
Page 11
m
175
404
470
612
639
898
1010
