Durite 0-875-15 설치 및 사용자 설명서 - 페이지 6
{카테고리_이름} Durite 0-875-15에 대한 설치 및 사용자 설명서을 온라인으로 검색하거나 PDF를 다운로드하세요. Durite 0-875-15 14 페이지.

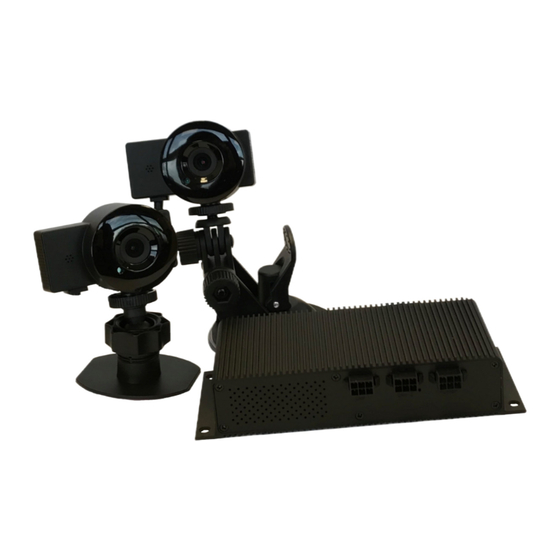
Installing the camera(s)
CAM1 should be installed facing forwards from the front windscreen to give a "driver's eye" view of
the road ahead. For cars and vans the posiDon typically used is behind the rear view mirror as shown
below. Ensure that any adjustments made to the mounDng are secure to prevent the camera from
DlDng or poinDng away from the intended focus area.
OpDmally, forward facing cameras should be focused at an angle just below level with the road to
capture the area from the front of the bonnet to the horizon. If a camera is mounted outside of the
area of the windscreen cleared by the wipers, the image will be obscured during inclement weather
and blurry in direct sunlight.
If another camera is installed, it should be posiDoned to capture the target area as required (driver's
seat, rear interior, rear view, etc).
The angle and video quality should be checked and confirmed during the commissioning process.
Installing the panic buUon
the telematics unit to the pins on the buUon. Do not wire the blue or black to any other
component, and take care not to confuse the black wire from the control unit and the black wire
for the buUon.
If you do not wish to install the panic buUon, ensure that the blue and black wires are secured in
such a way that they do not touch, and cannot touch any other metallic component.
Incident Cam | Installation & User Guide
6
The small push buUon included with the kit
funcDons as the system's "panic buUon". When
pressed it captures the last 10 and following 5
seconds of footage from the camera and
immediately uploads it to the cloud.
You may need to drill a small hole in the
vehicle's dashboard in order to mount the
buUon. It should be located in such a posiDon
where the driver can reach it without undue
distracDon from controlling the vehicle. A
screw arrangement on the buUon will grip the
dashboard and hold it in place.
The panic buUon is installed by connecDng the
blue and black wires leading directly from
of
9
