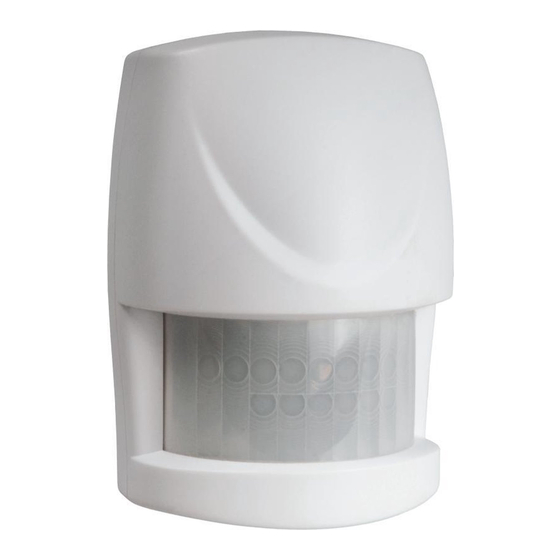
ELRO AS80PR11 설치 지침 - 페이지 2
{카테고리_이름} ELRO AS80PR11에 대한 설치 지침을 온라인으로 검색하거나 PDF를 다운로드하세요. ELRO AS80PR11 4 페이지. Pir motion detector
7. At this for point, insert the battery with correct polarity into the unit.
8. The screen below will appear in 10 seconds if the process is successful.
9. Time-out will occur if the binding process was unsuccessful. Please refer to the
"Manual binding" section.
Note: Leave the detector with the rear cover open to prepare for testing.
Manual Binding
1.
Repeat steps 3 to 6 of the Binding with Homesys section.
2.
With the battery inserted, press and hold the link key on the PCB for 3 or more
seconds, and the detector LED will start to flash, implying that it has entered ID
code learning mode.
Link key /
Tamper
3.
The LED indicator will stop flashing and turn off within 5 seconds, indicating the
learning procedure is completed. The screen below will appear indicating the
process is successful.
4.
If after 30 seconds the LED flashes rapidly (with an interval of 0.1 second) for 3
times, it means the PIR failed the binding process.
Operation & Testing
Warm-Up
It will take approximately 2 minutes to warm up the Detector after a battery is
inserted. During this period the LED will flash red slowly. When the LED turns red
for 5 seconds, it implies warm-up procedure is complete and the detector is ready
for detection.
Testing
1. Go to System, and set it to ARM.
2. Wait for 30 secs then wave your hand in front of the detector.
3. If the test is successful the system will trigger an alarm (alarms are listed in
"Events").
Note: It is necessary that the gateway is powered and connected to internet.
4. If the test is unsuccessful, please check the troubleshooting section.
2