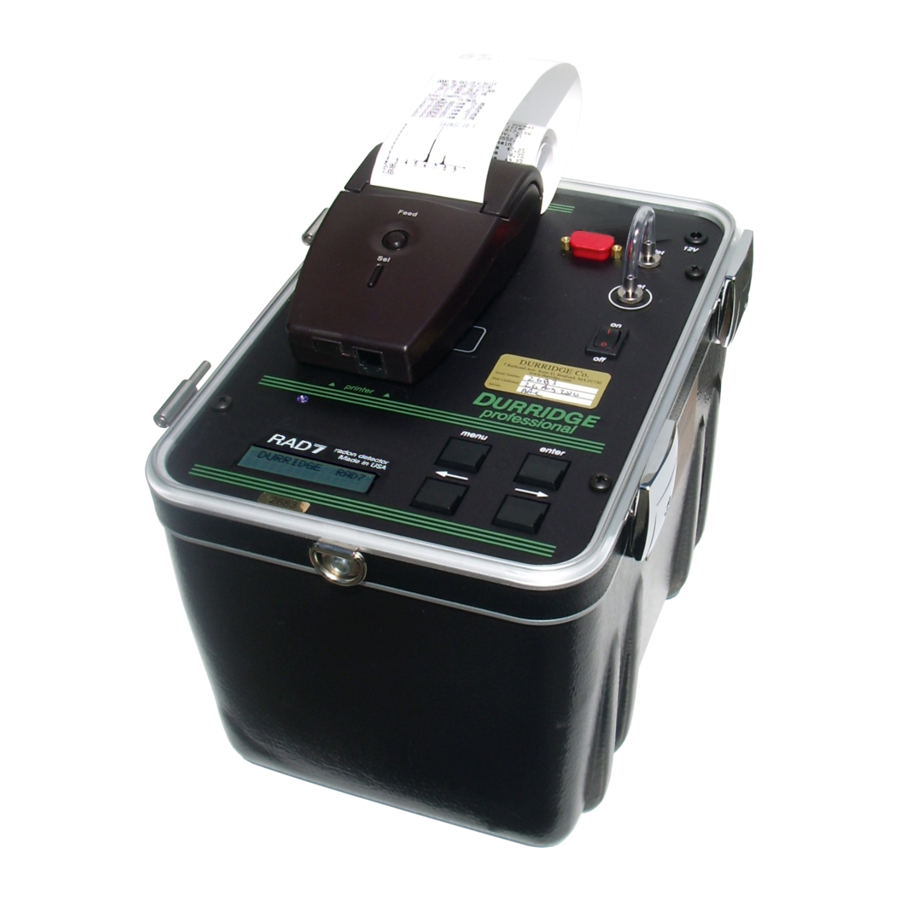
DURRIDGE RAD7 사용자 설명서 - 페이지 5
{카테고리_이름} DURRIDGE RAD7에 대한 사용자 설명서을 온라인으로 검색하거나 PDF를 다운로드하세요. DURRIDGE RAD7 15 페이지. Passive, slow response radon in water accessory
DURRIDGE RAD7에 대해서도 마찬가지입니다: 블루투스 연결 매뉴얼 (4 페이지), 연결 매뉴얼 (4 페이지), 사용자 설명서 (7 페이지)

1 WATER PROBE SETUP
1.1 Connections
1.1.1 Air Loop
Two pieces of tubing connect the RAD7 and drying
unit to the Water Probe air/water exchanger, as
shown in Fig. 2. These two pieces of tubing can be
several tens of meters long. The standard tubing
supplied with the RAD7/Water Probe is sufficient for
a connection up to ten feet between the exchanger
and the RAD7.
Connect the OUTLET of the RAD7 to either of the
Water Probe air ports. For this, the 5ft long, 3/16" ID
1.1.2 DRYSTIK
Please note that the above instructions are for use of
the Water Probe without a DRYSTIK humidity
exchanger. A DRYSTIK, if available, should be placed
between the exchanger and the drying unit, and the
outer sheath should be purged with dry air from the
RAD7 outlet. See Fig. 3 in Section 3. More details are
provided in the DRYSTIK user's manual.
Introduction
Fig. 2 RAD7 Water Probe Standard Setup
tubing, with a 1/8" ID section at one end, may be
used. The 1/8" end fits on the RAD7 outlet, and the
3/16" end fits the Water Probe. Connect the other
3/16" hose connector between the other Water Probe
air port and the Laboratory Drying Unit.
Connect the other end of the Laboratory Drying Unit
(there should be at least one inch of blue desiccant
left at this end) to the air inlet filter (with 1/8" ID
tubing at the filter end), which is then placed on the
RAD7 INLET. The Luer taper ensures an airtight
connection.
1.1.3 RAD7 and Exchanger Location
Place the RAD7 on a clean, dry surface. If it has to be
located in a harsh environment, then it should be
protected from the elements (especially water). A
simple way to do this is to place the RAD7 inside a
large transparent plastic bag, such as the one in which
it was originally shipped. The bag opening should be
gathered around the inlet and outlet tubes, so that the
instrument is inside a closed space, completely
5
