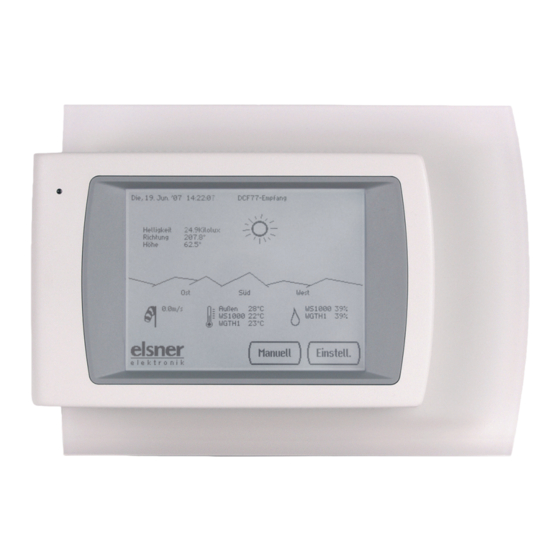
Elsner WS1000 Color 어셈블리 정보
{카테고리_이름} Elsner WS1000 Color에 대한 어셈블리 정보을 온라인으로 검색하거나 PDF를 다운로드하세요. Elsner WS1000 Color 2 페이지. Connect control system
Elsner WS1000 Color에 대해서도 마찬가지입니다: 첫 번째 단계 (2 페이지), 매뉴얼 (2 페이지)
Conversion WS1000 without Touch
Color
Preparing the WS1000 Color
1)
2)
3)
Connection
4)
5) Connect the drives etc. In doing so keep the individual connecting wires as short as possible in
order to avoid unnecessary reserve loops. Contact between motor cables on the processor circuit
board can cause the display to malfunction.
Please also observe the assembly instructions and the WS1000 Color manual!
Information on assembly
WS1000
To remove the WS1000 Color front-plate, open the screws under
the flap.
Slide the upper part of the WS1000 Color housing (frame with
display) slightly upwards and lift it off.
Beware: The display is connected to the circuit board in the
concealed box by a flat cable. Loosen the plug in order to be
able to remove the upper part.
The covering flap is only loosely mounted, take care not to lose
it.
The lower part of the housing, including the wall mounting
plate, is fixed to the concealed box by 3 screws: Loosen the
screws and remove the lower part.
Remove the circuit board from the WS1000 Color. Place it in the
concealed box of the old WS1000.
Since the mounting plugs for the old concealed box do not align
with the mounting holes in the new circuit board, this must be
screwed directly to the rear wall.
Beware: The circuit boardmust never be exposed to dust
or humidity!
Assembly
information
WS1000 Color
Page 1 of 2
Status: 06/05/2015