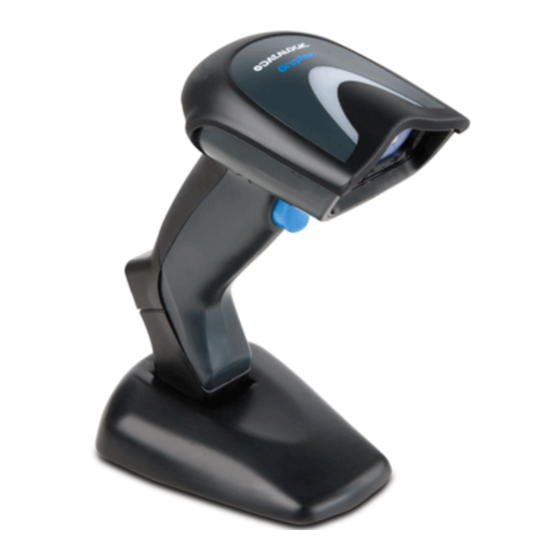
Datalogic Gryphon D200 참조 매뉴얼 - 페이지 17
{카테고리_이름} Datalogic Gryphon D200에 대한 참조 매뉴얼을 온라인으로 검색하거나 PDF를 다운로드하세요. Datalogic Gryphon D200 20 페이지.
Datalogic Gryphon D200에 대해서도 마찬가지입니다: 빠른 참조 (20 페이지)

INSTALLATION
2.8.2
Battery Charging
Once the system is connected and powered, you can place the GRYPHON™ M into
the cradle to charge the battery.
When the scanner is correctly inserted in the cradle, the red LED on the cradle goes on
to indicate that the battery is charging. The green LED on the cradle goes on when the
battery is completely charged.
When using NiCd or NiMh batteries, frequent recharging before fully discharging can
cause a "memory effect" in which the batteries assume a reduced capacity.
Since it is not practical to wait for the reader to be fully discharged before recharging it,
the OM-GRYPHON™ and the C-GRYPHON™ are provided with a battery-
reconditioning feature which overcomes the "memory effect" problem.
To perform battery reconditioning, simply press the battery-reconditioning key on the
cradle control panel: the battery will be fully discharged in a short period of time (red
LED flashing), then automatically recharged.
We recommend performing the battery reconditioning once every few months or
whenever you feel the battery capacity has decreased.
2.8.3
Replacing GRYPHON™ M Batteries
To change the batteries in your GRYPHON™ M scanner, proceed as follows:
1.
Unscrew the battery cover screw.
2
Battery
Cover Screw
7
