elsner elektronik 70197 기술 사양 및 설치 지침 - 페이지 2
{카테고리_이름} elsner elektronik 70197에 대한 기술 사양 및 설치 지침을 온라인으로 검색하거나 PDF를 다운로드하세요. elsner elektronik 70197 2 페이지. Room controller
2.3.1. Wall-fitting
2.3.2. Cavity wall fitting
or
2.4. Assembling the operating unit
During electrical installation, please introduce all connection cables into the concea-
led box through the lower or upper side wall.
1
2
1
By adjusting the mounting screws, the display unit will rest flat on the wall later and
be held by the magnets safely.
Connect the cables to the display and place the display unit on the concealed box.
The magnets must be attracted by the mounting screws considerably and the dis-
play unit must rest tightly on the concealed box.
2.5. Assigning connector terminals
1
2
Plug 1:
Terminal 1, 2: Button interface 1
Terminal 3, 4: Button interface 2
Terminal 5, 6: Button interface 3
Terminal 7, 8: Button interface 4
2.6. Addressing the unit
The physical address is assigned using the display screen menu Settings > Phys.
Address. Press the buttons:
Phys. Adrdess
The Physical Address menu displays the current address and the status of the pro-
gramming LED (the address is 15.15.255 on delivery).
Press the Programming button, in order to address the device to
the bus.
Room Controller KNX Touch One Style • Version: 30.07.2020 • Technical changes and errors excepted. • Elsner Elektronik GmbH • Sohlengrund 16 • 75395 Ostelsheim • Germany • www.elsner-elektronik.de • Technical Service: +49 (0) 7033 / 30945-250
Room Controller KNX Touch One Style
Place the concealed box in the
wall so that the arrows point up-
wards.
For fitting, screw the cover
(board) on to the concealed box
with the enclosed screws.
Clamp the concealed box to the
wall with the four enclosed
screws.
Upon delivery, the pouch con-
taining the assembly screws can
be found in the control unit's
concealed box.
Adjust the screws of the magne-
tic mounting with the enclosed
template. Each of the four
screws must be adjusted indivi-
dially in height.
When the edge of the template
rests on the wall surface (1), the
template must rest on the
mounting screws as well (2).
Plug 2:
Terminal 1, 2:
VCC (Auxiliary voltage AC/DC)
Terminal 5: KNX +
Terminal 6: KNX -
2.7. Maintenance and care
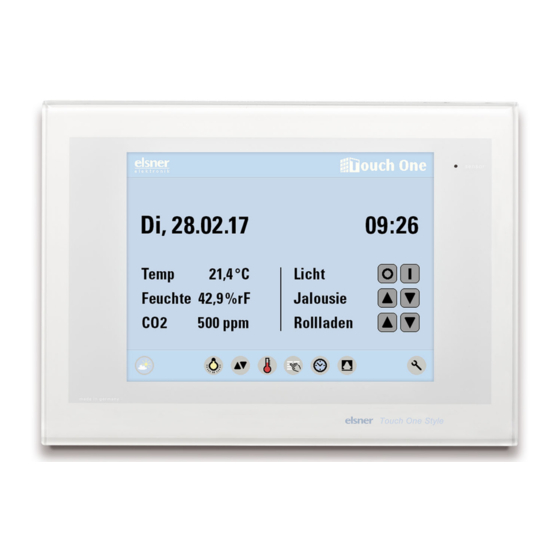
Finger marks on the touch screen are best removed with a damp cloth or a microfi-
ber cloth. You can wipe the buttons without activating them.
Do not use abrasives / detergents or aggressive cleaners for cleaning.
If there is a power outage, the data you have entered will be saved for around 10
years. No battery is required for this.
3.
Disposal
After use, the device must be disposed of or recycled in accordance with the legal
regulations. Do not dispose of it with the household waste!
2