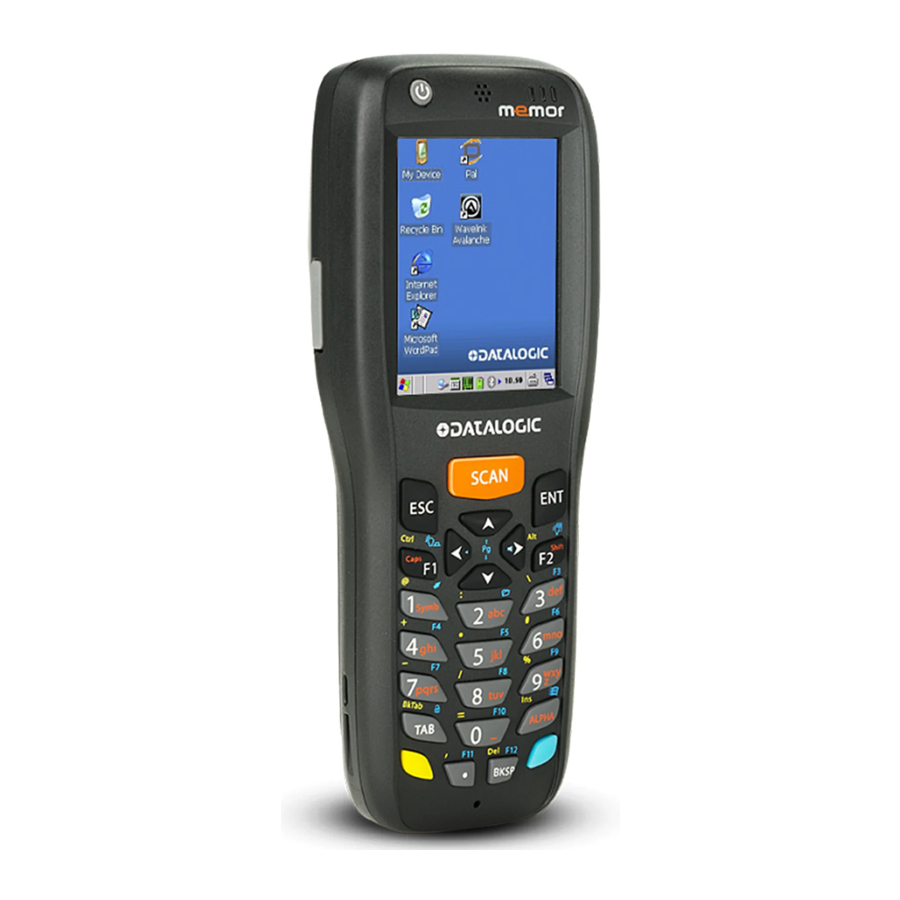
Datalogic Memor X3 빠른 시작 매뉴얼
{카테고리_이름} Datalogic Memor X3에 대한 빠른 시작 매뉴얼을 온라인으로 검색하거나 PDF를 다운로드하세요. Datalogic Memor X3 2 페이지. Single ethernet dock
Datalogic Memor X3에 대해서도 마찬가지입니다: 빠른 시작 매뉴얼 (2 페이지), 빠른 시작 매뉴얼 (2 페이지), 지침 (2 페이지), 문제 해결 매뉴얼 (10 페이지)

Memor™ X3 Single Ethernet Dock
Read this manual carefully before performing any type
of connection through the Memor X3 Single Ethernet
Dock.
The user is responsible for any damages caused by
NOTE
incorrect use of the equipment or by inobservance of the
indication supplied in this manual.
Do not attempt to disassemble the Memor X3 Single
Ethernet Dock, as it does not contain parts that can be
repaired by the user. Any tampering will invalidate the
warranty.
NOTE
The Memor X3 Single Ethernet Dock paired with one Memor X3 mobile
computer builds a reading system for the collection, decoding and
transmission of barcoded data.
The communication between the mobile computer and host PC through
the Memor X3 Single Ethernet Dock may occur also by using the standard
ActiveSync® connection.
D
C
A
Figure 1 – Memor X3 Single Ethernet Dock
A)
LED Indicators
E)
Power Jack
B)
Spare Battery Slot
F)
Ethernet Port with LED indicators
C)
Mini USB Connector
G)
Switch Ethernet/USB
D)
RS232 Connector
The Memor X3 Single Ethernet Dock is a serial communication adapter
between the host computer and the Memor X3 mobile computer. Power
supply is required to be connected to the Dock only for ethernet
communication.
Since the Memor X3 Single Ethernet Dock also functions as a battery
charger, a power supply is required for battery recharging operations, both
for the mobile computer and spare battery pack recharging. The spare
battery pack recharging slot can supply a 1100 mAh, a 1430 mAh, a 2000
mAh and a 2300 mAh Battery pac.
822001522
(Rev. A)
Jan. 2018
MOBILE COMPUTER INSERTION/ REMOVAL
By inserting the Memor X3 into the Dock, data can be transmitted to the
host and its battery begins charging if the power supply is connected. In
addition, a spare battery can be charged by inserting it into the slot at the
back of the Memor X3 Single Ethernet Dock as shown in the following
figure.
Data Transmission and
Mobile Computer Battery
Charging
B
Figure 2 – Memor X3 Single Ethernet Dock Charging and
LED INDICATORS
E
The LEDs positioned on the front part of the Memor X3 Ethernet Dock
(see figure below) indicate the Dock and spare battery charger status:
G
F
Power LED
Front LED indicators
LED
STATUS
Red Constant
Charger
Green Constant
Power
Green
*
During charging, the LED may turn off to indicate a temporary
suspension of charging.
Spare battery
Charge Slot with
Spare Battery
Inserted
Communication
Spare Battery
Charger LED
Figure 3 - LED Indicators
*
Spare battery charging
Spare battery charge completed
It is constant when the Dock is powered
Ethernet Connector LED Indicators
Ethernet
Solid Green
Link established
Green LED
Flashing Green
Link activity
(left)
Off
No link established
Ethernet
Off
10 Mb connection
Yellow LED
Solid Yellow
100 Mb connection (this model is not
(right)
available)
CONNECTIONS
Connections should always be made with power OFF!
CAUTION
USB Connection
The Memor X3 Single Ethernet Dock can be connected to the host by
means of any standard Mini USB cable.
Once the host has been turned on, insert the Memor X3 mobile
computer into the Dock.
A
B
Figure 4 - USB Connection
A)
Host Computer
C)
Memor X3 Single Ethernet Dock
B)
Std Mini USB (i.e.
D)
Power Supply
94A051016 CAB-421)
for battery charging)
Be sure that the switch is in the "USB" position.
During switch operation from USB position to Ethernet
position and vice versa the mobile computer must not be
inserted in the Dock.
NOTE
*
Recommended power supply: 94ACC1324 PG5-30P35 AC/DC POWER
SUPPLY EU/USA PLUG.
C
D
*
(only necessary
