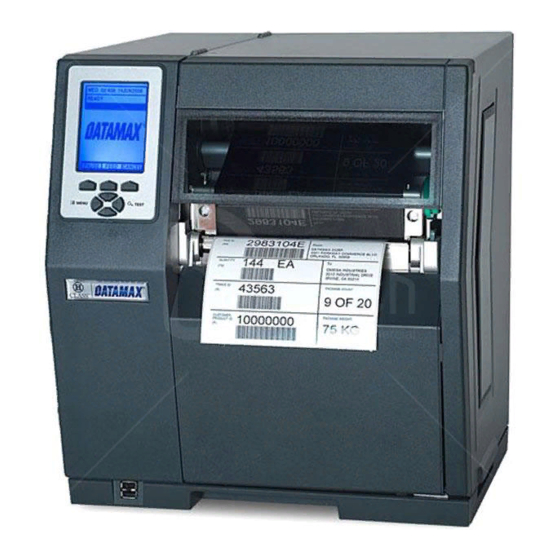
Datamax H-Class 빠른 시작 매뉴얼 - 페이지 5
{카테고리_이름} Datamax H-Class에 대한 빠른 시작 매뉴얼을 온라인으로 검색하거나 PDF를 다운로드하세요. Datamax H-Class 12 페이지. Cutter option
Datamax H-Class에 대해서도 마찬가지입니다: 매뉴얼 (8 페이지), 매뉴얼 (14 페이지), 매뉴얼 (10 페이지), 매뉴얼 (12 페이지)

6" and 8" printers only
B) Using a Cotton Swab or cloth, moistened with isopropyl alcohol, gently clean the surface where the
Static Brush will be installed.
Isopropyl alcohol is a flammable solvent; always take the proper precautions when using this substance.
WARNING
C) Peel the backing from the adhesive strip on
the back of the Static Brush and affix the
brush to the printer in the location shown.
Be sure to locate the Static Brush as
close to the printer's Centerplate as
possible.
Note: The Static brush should be installed so the bristles are as close to the ribbon without actually touching. It
may be necessary to install a roll of ribbon in order to properly align the brush to the ribbon.
Step 3: Configuring the Printer
Note: During this procedure, consult the Operator's Manual for detailed front panel instructions.
Configure the printer for the thermal transfer use as follows:
A) Plug the power cord into the AC Receptacle and turn 'On' the Power Switch.
B) Press the MENU Button on the printer's front panel.
C) Press the ENTER Key to select MEDIA SETTINGS, and press the key again to select MEDIA TYPE.
D) Using the DOWN Button, scroll to THERMAL TRANSFER then press the ENTER Key.
E) Press the EXIT Key and then, at the SAVE CHANGES? prompt, press YES.
Static
Brush
3
