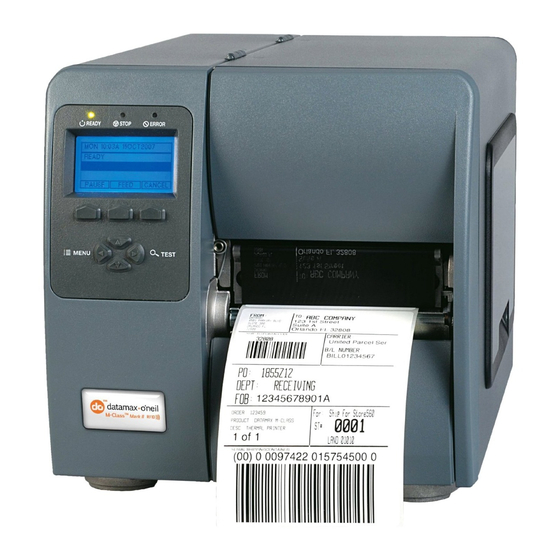
Datamax M-Class Mark II 빠른 시작 매뉴얼 - 페이지 3
{카테고리_이름} Datamax M-Class Mark II에 대한 빠른 시작 매뉴얼을 온라인으로 검색하거나 PDF를 다운로드하세요. Datamax M-Class Mark II 4 페이지. Rfid option
Datamax M-Class Mark II에 대해서도 마찬가지입니다: 매뉴얼 (6 페이지), 매뉴얼 (8 페이지), 매뉴얼 (10 페이지), 빠른 시작 매뉴얼 (8 페이지), 빠른 시작 매뉴얼 (6 페이지), 빠른 시작 매뉴얼 (8 페이지)

Contents of the Present Sensor Kit
This kit contains the following item:
Present Sensor Option
Follow the steps listed below to install this option.
Step 1: Preparing the Printer
Turn 'Off' the power switch and unplug the
printer.
Open the cover. Remove any installed media
from the printer.
Remove the Fascia by gently pulling it forward.
Loosen and remove the Thumbscrew, then
remove the Tear Plate.
Step 2: Installing the Present Sensor
Position the Present Sensor for mounting on the
front of the printer.
Using the Thumbscrew, secure the Present
Sensor to the printer, as shown.
This completes the installation process.
Proceed to Loading Media.
Fascia
Present Sensor
Thumbscrew
1
Thumbscrew
Tear Plate
