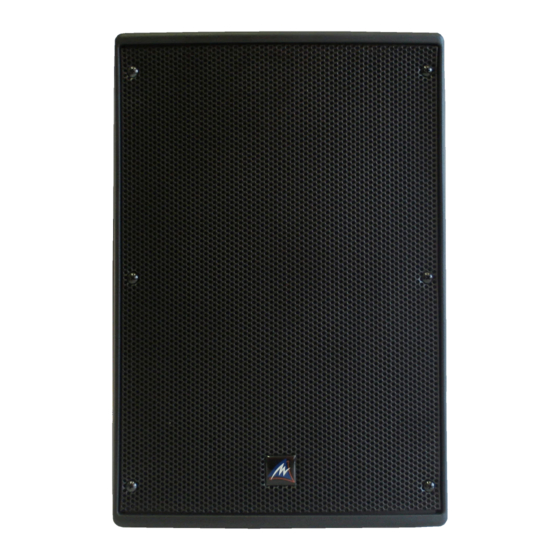
AUSTRALIAN MONITOR XRS Series 설치 및 운영 매뉴얼 - 페이지 7
{카테고리_이름} AUSTRALIAN MONITOR XRS Series에 대한 설치 및 운영 매뉴얼을 온라인으로 검색하거나 PDF를 다운로드하세요. AUSTRALIAN MONITOR XRS Series 12 페이지. Passive, powered and outdoor loudspeakers
AUSTRALIAN MONITOR XRS Series에 대해서도 마찬가지입니다: 설치 및 운영 매뉴얼 (13 페이지), 설치 및 운영 매뉴얼 (13 페이지)

MOUNTING
When mounting XRS series loudspeakers the following safety issues must be considered;
1. The mounting of a permanently installed speaker may be dangerous unless undertaken
by a qualifified professional with relevant experience.
2. Walls and mounting surfaces must be capable of supporting the speaker and bracketry
in a safe and secure manner.
3. Fixings must be safely attached to the speaker cabinet and the mounting surface. All fixings
must be installed in accordance with the manufacturer's instructions and specifications.
Suspending with Eyebolts
The XRS range of speaker cabinets provide a number of secured mounting points for use with M8 eye bolts.
As many eyebolt locations as possible should be used on the speaker. When mounting an XRS6ODV or XRS8
speaker cabinet, at least two or more mounting points must be used. For the XRS10 and XRS12 speaker
cabinets, three or more points must be used. The best way to hang a speaker using eyebolts is to use two
eyebolts on the top of the cabinet and one on the rear to give the speaker some angle.
All eyebolt fittings in the XRS range are M8 and require at least a 20 mm of thread length.
ACCESSORIES
XRS6ODV
XR6PMA
Pole mount adaptor
XR6UMB
Universal mount bracket
XRS6UB
U bracket
XRS8
XR8PMA
Pole mount adapter
XR8UMB
Universal mounting bracket
XRS10
XR10CVR
Heavy duty cover
AMISLSB1
Wall mount brackets
ATC303
Tripod speaker stand
ATC304
Heavy duty tripod speaker stand
ATC305
Winch up speaker stand
XR10-12UB
Universal bracket
XRS12
XR12CVR
Heavy duty cover
AMISLSB1
Wall mount brackets
ATC303
Tripod speaker stand
ATC304
Heavy duty tripod speaker stand
ATC305
Winch up speaker stand
XR10-12UB
Universal bracket
XRS SERIES INSTALLATION AND OPERATION MANUAL
MOUNTING & ACCESSORIES
PAGE 7
