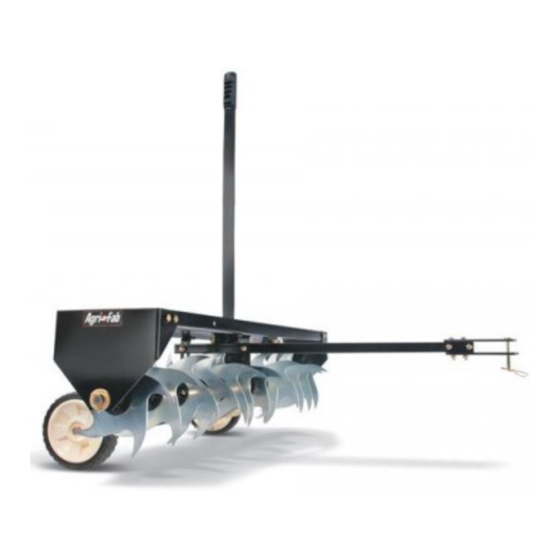
Agri-Fab Spike Aerator 45-0369 소유자 매뉴얼 - 페이지 9
{카테고리_이름} Agri-Fab Spike Aerator 45-0369에 대한 소유자 매뉴얼을 온라인으로 검색하거나 PDF를 다운로드하세요. Agri-Fab Spike Aerator 45-0369 20 페이지. 40" curved spike aerator
Agri-Fab Spike Aerator 45-0369에 대해서도 마찬가지입니다: 수리 부품 (1 페이지)

OPERATION
Aerating involves cutting small holes in the soil to create
small reservoirs that will bring oxygen, fertilizer and water
down into the root zone. For best performance of the spike
aerator attachment,
the following lawn preparation
and
aerator operation is recommended.
9.
To prevent damage to lawn, do not make sharp turns
while spike points are engaged in ground.
10. Aerate in an up and down direction on slopes.
11. To increase depth of spike point penetration, add weight
to the tray as necessary. The tray holds concrete blocks
or patio blocks at approximately 35 Ibs. each. Secure
the weights with straps or wire using the holes in the
tray flange. See figure 17.
12. If the ground is extremely hard and dry', it should be
sprinkled or watered down for one to two hours prior to
use of the aerator.
13. Do not aerate if the ground is too wet (muddy).
.
Spike points are sharp. Exercise caution at all
times when spike points are rotating or when
points are being handled.
To level the spike tray after the aerator is attached to the
tractor hitch, loosen the nylock nuts holding the hitch
mount arms to the brackets at the rear of the tray. Make
the tray as level as possible and then retighten the nuts.
See figure 16.
HITCH
NYLOCK NUT
MOUNT
FIGURE 17
FIGURE 16
2.
The spike tray may be raised to the transport position
by pushing the lift handle backward.
3.
The spike tray may be lowered to the working position
by moving the lift handle forward.
4.
Mow the lawn and remove loose clippings prior to use
of the aerator.
5.
Start the tractor engine with controls in neutral and then
place throttle at a slow engine speed.
6.
Engage the shift lever in lowest possible forward speed
and then lower the aerator, allowing spike points to enter
the ground. Increase speed as conditions permit.
7.
Aerate in the straightest line possible.
8.
Make overlapping passes to increase density of the
spike point pattern.
MAINTENANCE
.
2.
3.
.
.
Before each use check all nuts and bolts for tightness.
Lubricate wheels as needed.
If rust appears on shield or spikes, sand lightly and coat
with enamel paint.
Store in a dry area and coat exposed metal with light
oil when not in use.
Spike points can be periodically sharpened with a small
grinder to maintain good soil penetration. Points should
be removed for sharpening.
9
