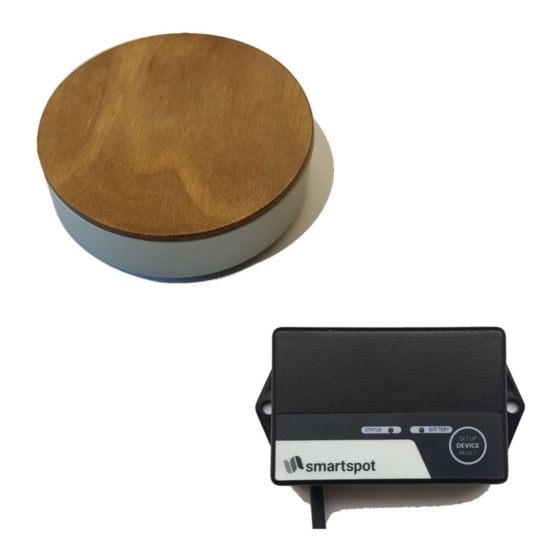
Austroflamm SmartSpot 사용자 지침 - 페이지 9
{카테고리_이름} Austroflamm SmartSpot에 대한 사용자 지침을 온라인으로 검색하거나 PDF를 다운로드하세요. Austroflamm SmartSpot 20 페이지. Room temperature sensor
Austroflamm SmartSpot에 대해서도 마찬가지입니다: 사용자 지침 (14 페이지)

3 Installation of the SmartSpot receiver
We recommend:
Have the installation done by a professional.
The stove must be disconnected from the power supply before the SmartSpot receiver is being connected to
the control board on the stove!
The control board is situated behind the stove cladding, which needs to be disassembled beforehand. Where
exactly depends on the stove model.
The standardly connected, wired room sensor connected to port „T01" on the control board has to be
disconnected. (Detachment of the QUICK RELEASE PLUG or remove 2 x black wires from the cable connector)
Ensuing, connect the SmartSpot receiver to the control board as follows:
4 Connecting the SmartSpot sensor with the receiver
The SmartSpot receiver must be connected to the stove's control board and the power must be on. (TEST: LED
light on the receiver slowly blinks green.)
The batteries of the SmartSpot sensor must be inserted correctly.
Now briefly press the highlighted button „1" on the
inside of the SmartSpot sensor. LED light blinks
green now.
The connection build-up takes about 30 seconds. If the connection works correctly the LED light on the receiver
shines green permanently and the sensor flashes every three minutes. The temperature display and control now
work just like a wired temperature sensor.
3
green
brown
white
Press the setup button on the receiver. The LED
light starts to blink green quickly.
english
green T01 (2. contact)
white
+5 V
brown GND
