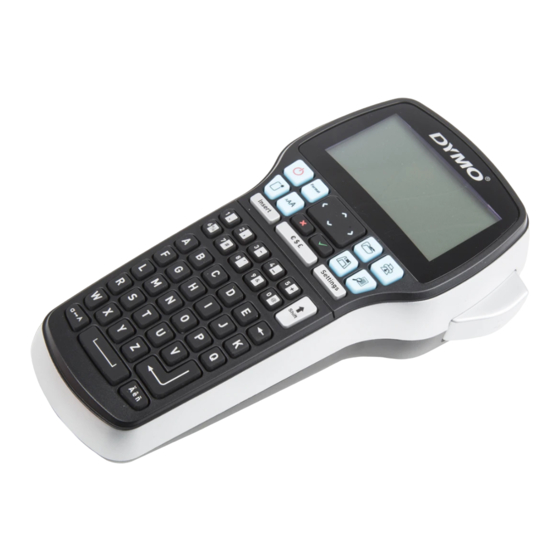
Dymo LabelManager 420P 빠른 시작 매뉴얼 - 페이지 6
{카테고리_이름} Dymo LabelManager 420P에 대한 빠른 시작 매뉴얼을 온라인으로 검색하거나 PDF를 다운로드하세요. Dymo LabelManager 420P 15 페이지. High-performance portable label maker with pc or mac connection
Dymo LabelManager 420P에 대해서도 마찬가지입니다: 사용자 설명서 (12 페이지), 개요 (12 페이지), 사용자 설명서 (13 페이지)

To print a label
Enter text to create a simple label.
1
Press Print.
2
Press the cutter button to cut the label.
3
Remove the paper backing from the label to expose
4
the adhesive, and then attach the label.
Using Your Label Maker with Your Computer
Connecting the Label Maker to your Computer
The label maker connects to your computer using the USB connection located on
the top of the label maker. You do not need to install additional software or drivers
to use the label maker with your computer.
To connect the label maker to your computer
Plug the USB cable into the USB port on the top of
1
the label maker. See Figure 8.
Plug the other end of the USB cable into an
2
available USB port on your computer.
4
Split
backing
Figure 7
Figure 8
