Dymo LabelPOINT 350 빠른 시작
{카테고리_이름} Dymo LabelPOINT 350에 대한 빠른 시작을 온라인으로 검색하거나 PDF를 다운로드하세요. Dymo LabelPOINT 350 4 페이지. Electronic label maker
Dymo LabelPOINT 350에 대해서도 마찬가지입니다: 사용자 설명서 (17 페이지), 사용자 설명서 (16 페이지)
Follow these steps to install your LabelPoint 350 label printer and print your first label.
1. Unpacking your Printer
NOTE If you are connecting the printer to a Windows system, do not plug the printer into your computer until
asked to do so during the software installation.
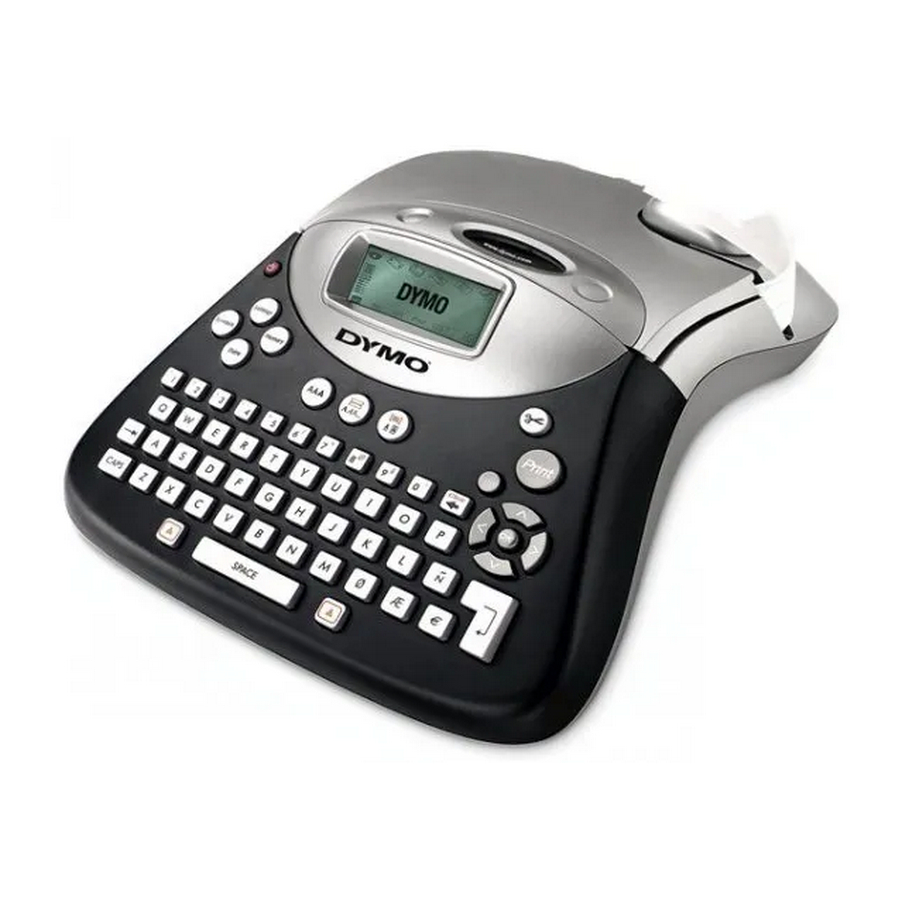
Unpack your label printer and save the packing materials.
1
Make sure you have all the items shown in Figure 1.
2
D1 label cassette
CD-ROM
2. Connecting the power
The label printer can operate on AC or battery power.
To insert the batteries
Remove the battery compartment cover. See Figure 2.
1
Insert the batteries following the polarity markings (+ and –).
2
Replace the battery compartment cover.
3
To connect the power adapter
Plug the power adapter into the power connector on the top, left side of the printer.
1
Plug the other end of the power adapter into a power outlet.
2
Quick Start Guide
LabelPoint 350 labelmaker
1, 2..N
Preview
Insert
Symbols
Language
Figure 1
Quick Start
USB cable
User Guide
Warranty booklet
Figure 2