Dymo LabelWriter 400 Duo Guide 설정 매뉴얼 - 페이지 5
{카테고리_이름} Dymo LabelWriter 400 Duo Guide에 대한 설정 매뉴얼을 온라인으로 검색하거나 PDF를 다운로드하세요. Dymo LabelWriter 400 Duo Guide 11 페이지. Desktop/pc connected labelmaker
Dymo LabelWriter 400 Duo Guide에 대해서도 마찬가지입니다: 사용 설명서 지침 (13 페이지), 설정 (8 페이지), 브로셔 (2 페이지), 빠른 참조 매뉴얼 (8 페이지), 브로셔 및 사양 (2 페이지), 콘텐츠 및 설치 (4 페이지)

- 1. Setting up a Dymo Labelwriter
- 2. To Install the DYMO Label Software on the Terminal Server
- 3. To Install and Test the DYMO Printer on the Local Workstation
- 4. To Allow Your Local USB Port to be Available During a Terminal Server Session
- 5. To Test the DYMO Printer through a Terminal Server Session
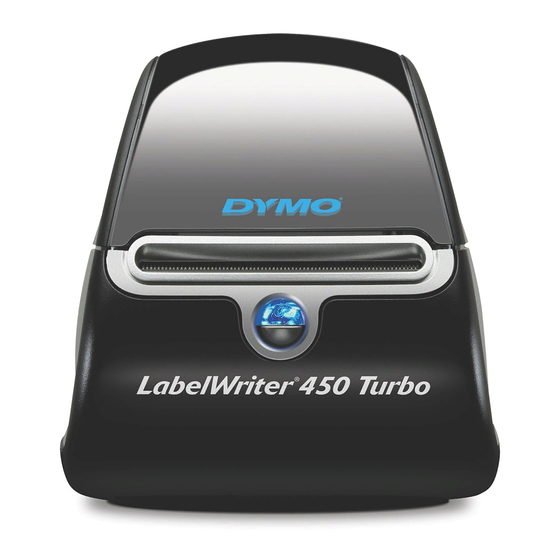
Setting Up a DYMO LabelWriter 400, 450, or 450 Turbo Printer with Terminal Services
To install and test the DYMO printer on the local workstation
The DYMO printer, DYMO LabelWriter software, and DYMO
•
NOTE
printer driver must be installed and functioning correctly on
the local workstation in order for OfficeMate to be able to
print from a remote computer.
Installing the DYMO LabelWriter software from the DYMO
•
LabelWriter CD automatically installs the DYMO printer
driver.
You may need to install either v7.8 or 8.x of the DYMO
•
LabelWriter software.
Connect the DYMO LabelWriter 400, 450, or 450 Turbo printer to your local
1.
computer's USB port.
Install the DYMO LabelWriter software from the CD that came with your
2.
printer.
If you do not have the DYMO LabelWriter CD, download the
NOTE
printer drivers and software application from the DYMO Web
site at
http://sites.dymo.com/Support/Pages/LandingPage.aspx.
When the DYMO Label Software installation launches, the License
Agreement window opens.
Select the I Accept radio button and click Next.
3.
Click Next to bypass the welcome message.
4.
Click Browse, select where to install the DYMO Label Software, and click
5.
Next.
6.
Click Next to bypass the installation message.
When asked to select a connection method, select the USB Port radio
7.
button and click Next.
Setting Up a DYMO LabelWriter 400, 450, or 450 Turbo Printer with Terminal Services
5
