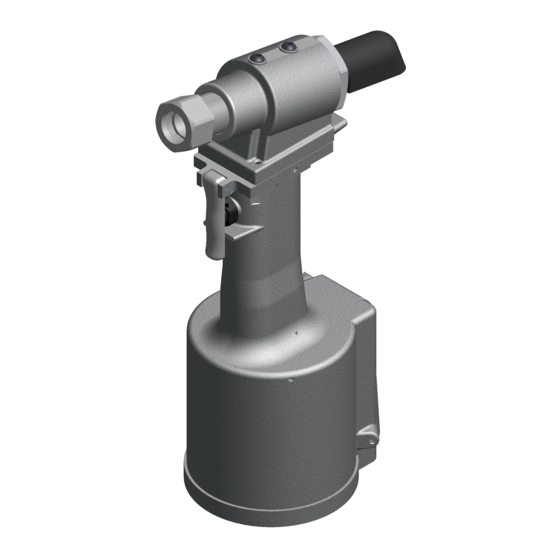
Gage Bilt GB730 사용자 설명서 - 페이지 7
{카테고리_이름} Gage Bilt GB730에 대한 사용자 설명서을 온라인으로 검색하거나 PDF를 다운로드하세요. Gage Bilt GB730 13 페이지. Installation tool
Gage Bilt GB730에 대해서도 마찬가지입니다: 설치 매뉴얼 (14 페이지)

FILLING AND BLEEDING INSTRUCTIONS
WARNING:
DO NOT CYCLE TOOL WITHOUT AIR BLEEDER, OR THE SCREW AND STAT-O-SEAL, INSTALLED IN TOOL HEAD.
SEVERE PERSONAL INJURY MAY RESULT.
CAUTION:
BEFORE FILLING HANDLE, AIR PISTON SHOULD BE ALL THE WAY DOWN.
CAUTION:
WHEN FORCING PISTON ROD ASSEMBLY DOWNWARD WITH HEAD CYLINDER ASSEMBLY REMOVED,
HYDRAULIC FLUID WILL EJECT FORCIBLY FROM HANDLE.
To replace a small amount of oil in the tool follow steps 19 and 20 below.
Should it become necessary to completely refill the tool (as would be required after tool has been dismantled and reassembled), take
the following steps after depressing trigger
1. Ensure air piston is at the full bottom of stroke by pushing power piston rod down.
2. Fill power cylinder and oil passage to the top.
3. Place gasket and o'ring on top of the handle.
4. Push head piston in head cylinder until it stops.
5. Press head cylinder down on top of handle, being careful not to tear o'ring on top of power cylinder, install screws and tighten
evenly.
6. Remove front screw and seal from top of head. Attach 4oz. bottle assy (745163).
7. Squeeze bottle gently until no air rises into bottle. (Be careful not to move head piston when filling with oil).
8. Remove 4oz. bottle assy. (745163) from front hole. Replace screw and stat-o-seal. Remove rear screw and
stat-o-seal and attach 4 oz. bottle assy. (745163) Repeat step 7.
9. Remove 4oz. bottle assy. (745163) from rear hole, install screw and stat-o-seal.
10. Reattach 4oz. bottle assy. (745163) to front bleeder hole and connect to air.
11. Cycle tool 10 times holding trigger down for 5 seconds between cycles.
12. Remove 4oz. bottle assy. (745163), replace screw and stat-o-seal.
13. Cycle tool 5-6 times and check stroke of .500 (see below), We recommend using a pair of dial calipers. With the trigger released,
check dimension (A). Holding trigger down check dimension (B). Subtract dimension (A) from dimension (B). If stroke is not
consistent within 1/64" (.0156) follow steps 14-21. If stroke checks O.K. and piston comes completely forward (see below) the
bleeding procedure is complete.
14. Disconnect air while piston is in rear position.
15. Remove screw and stat-o-seal from both front and rear holes.
16. Gently push piston in until it stops.
17. If fluid is not at top of rear hole, attach 4oz. bottle (745163) and repeat step 7.
18. Remove 4oz. bottle assy. (745163), replace rear screw and stat-o-seal.
19. Attach 4oz. bottle assy. (745163) to front hole, connect air.
20. Cycle 10 times, remove 4oz. bottle assy. (745163), replace screw and stat-o-seal.
21. Repeat step 13.
'A'
.190 (4.8mm)
AND DISCONNECTING THE AIR SUPPLY:
7
'B'
.690 (17.5mm)
Rev. 9/11
