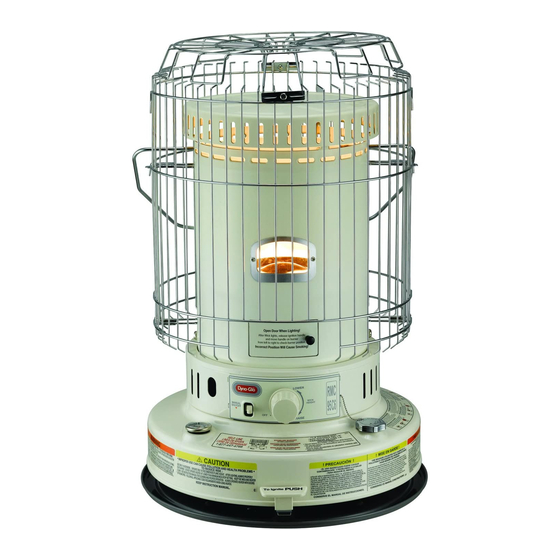
Dyna-Glo WK95C6R 소유자 매뉴얼 - 페이지 11
{카테고리_이름} Dyna-Glo WK95C6R에 대한 소유자 매뉴얼을 온라인으로 검색하거나 PDF를 다운로드하세요. Dyna-Glo WK95C6R 18 페이지. Portable kerosene-heater

7
. Remove the four wing nuts
which hold the wick assembly
to the heater and carefully lift
the wick assembly from the
heater.
10
. Remove the wick by
folding it to the inside.
Then remove the wick
sleeve from the bottom of
the assembly.
NOTE : DO NOT DISASSEMBLE THE STAINLESS STEEL WICK HOLDER.
13
. Line up the pins with the slotted holes inside the wick adjuster. Then
lightly press each of the three pins of the wick (now attached to the wick
sleeve) toward the center, away from the slanted grooves of the wick
adjuster allowing the wick do drop slightly. Once the pins line up with
each hole, press firmly on each pin toward the slanted grooves securely
through each hole.
NOTE : Turn the wick adjustment knob and check to be sure that the wick
moves up and down freely.
14
. The wick height will automatically be set to the correct burning height of
3/8" (10mm).
NOTE : Be sure to check wick height. It should be 3/8".
8
. Replace the wick adjustment knob temporarily.
Turn the knob CLOCKWISE to raise the wick.
9
. Hold the wick assembly up-side-
down, using caution, grasp the
wick cover firmly PULL it off with a
sharp tug. If you have difficulty
doing so, try loosening the wick
cover with a flat blade screwdriver.
C A U T I O N : The inside of wick
cover has sharp teeth. The use of
work gloves is suggested to avoid
injury.
11
. Install the new wick and
insert the 3 pins on a new
wick into the 3 holes on
the wick sleeve in the
upward direction. (See the
arrow marked " up" on
the wick sleeve)
10
NEVER LEAVE THE HEATER
UNATTENDED WHILE BURNING!
12
. Push the new wick into the
retainer teeth of the wick
sleeve so that the wick
adheres tightly around the
inside of the wick sleeve,
smoothing out any wrinkles.
Hole
Pin
7/32 in. (5.5mm) All around
RIM OF WICK
ADJUSTER
(holder)
Wick Cover
WICK 25/64 IN. (10 mm)
