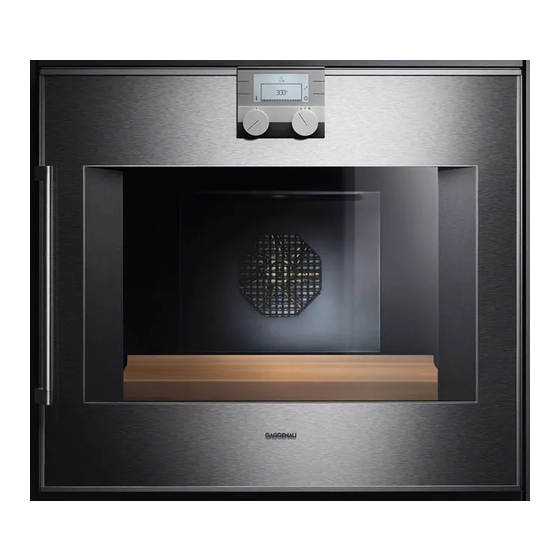
Gaggenau BO 21. 설치 지침 매뉴얼 - 페이지 4
{카테고리_이름} Gaggenau BO 21.에 대한 설치 지침 매뉴얼을 온라인으로 검색하거나 PDF를 다운로드하세요. Gaggenau BO 21. 20 페이지.

Ausbau
Gerät spannungslos machen. Befestigungsschrauben
lösen.
Gerät leicht anheben und ganz herausziehen.
en
$
Important Notes
The appliance is only guaranteed safe to use if installed by
a specialist in accordance with these installation
instructions. Shock protection must be guaranteed by the
installation.
The installer is liable for any damage resulting from
incorrect installation.
The appliance may only be connected by a licensed
specialist. The local electricity supplier's regulations and
construction regulations apply.
Check the appliance for any transport damage.
The appliance must be disconnected from the electricity
before any installation work takes place.
Preparing the Cabinet – Figure 1 + 2
Fitted units must be heat-resistant up to 90 °C, adjacent
unit fronts up to at least 70 °C.
A ventilation cut-out must be made in the intermediate floor
of the cabinet. See figure for dimensions (min. 20 x
500 mm).
Cut out the units before fitting the hob. Remove shavings
as they can affect the function of electrical components.
Secure furniture which is not fitted to the wall using a
standard fixture.
Install the appliance low enough to allow baking trays to be
easily removed.
Electrical Connection
Observe rating plate data for voltage and total rating.
Important: Only connect in accordance with the
connection diagram. Fit the enclosed copper bridges as
required.
Mains connection lead: Type H05 VV-F or higher. The
yellow-green lead for the earth connection must be 10 mm
longer on the appliance side than the other leads.
The rear of the oven has tapered edges. When cabinet
depth is 550 mm, the connection lead must be guided
down the rear right side of the cabinet to the connector
box. Position connector box beneath the cabinet recess.
Do not trap the connection lead during installation and do
not guide it over sharp edges.
The appliance corresponds to safety class I and may only
be used in conjunction with a safety earth terminal.
Fuse protection using B or C circuit breakers is required.
An all pin isolating switch with a contact gap of at least
3 mm must be installed.
4
Corner installation – Figure 3
Observe space requirements of door and door handle
when planning drawers beside the appliance:
measurement cabinet edge – door panel: 47 mm.
measurement cabinet edge – door handle edge: 94 mm
Observe a minimum opening angle of 90° for corner
installation.
Installation – Figure 4
Important: Do not lift the appliance by the door, door
handle or lower air vent. Lift the appliance by the
installation handles on both sides. Remove installation
handles before installing in cabinet.
Insert the appliance in the cabinet and align it centrally and
horizontally.
Leave an air gap of at least 5 mm between the appliance
and the front of other cabinets.
Secure the appliance with the screws provided.
If there is no fitted shelf above the oven in the cabinet,
secure the oven against tipping over when the door is
opened. Fit two standard angles 5 mm above the
appliance at 450 mm depth inside the cabinet.
When installing two ovens side-by-side, the door handles
must be in the centre.
Combination with Steam Oven
BS 270/271
The steam oven BS 270/271 is fitted with the controls on
the bottom. Therefore it is particularly suitable for
installation above a Gaggenau series BO 2.. oven.
The rear of the series BO 2.. ovens has tapered edges.
Guide the water inlet hose and the drainage hose on the
rear left side of the cabinet down to the connections.
Fit the steam oven first. Follow the installation instructions
for the steam oven.
When installing an oven and a steam oven side-by-side,
the door handles must be in the centre.
Combination with Warming Drawer
WS 2..
Fit the warming drawer first. Follow the installation
instructions for the warming drawer.
Slide the oven into the cabinet, on top of the warming
drawer.
Important: When installing the oven take care not to
scratch the panel or the handle of the warming drawer.
Removal
Disconnect the appliance from the power supply. Loosen
the securing screws.
Lift the appliance slightly and pull it out completely.
