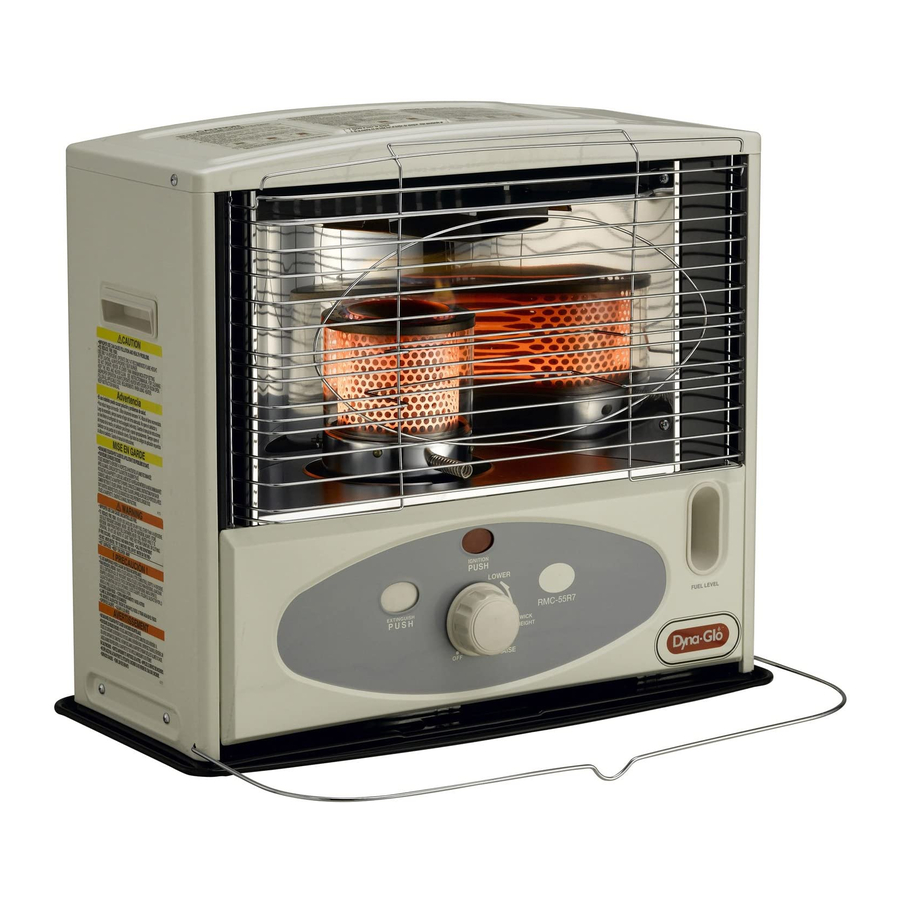
Dyna-Glo RMC-55R7 소유자 매뉴얼 - 페이지 5
{카테고리_이름} Dyna-Glo RMC-55R7에 대한 소유자 매뉴얼을 온라인으로 검색하거나 PDF를 다운로드하세요. Dyna-Glo RMC-55R7 20 페이지. Portable kerosene heater
Dyna-Glo RMC-55R7에 대해서도 마찬가지입니다: 소유자 매뉴얼 (20 페이지)

UNPACKING AND ASSEMBLING THE HEATER
1. REMOVE THE HEATER AND ALL PACKING MATERIALS FROM THE BOX.(Fig. 2)
NOTE:Save the shipping carton and packing materials for
future storage.
2. Open the grille from the right hand side, by pulling up on the lower right
hand corner. Remove the protective packing materials from the burner.
To close grille, slide top bar into slot in housing and lower bottom
bar into slot.
3. Open the cartridge tank cover on top of heater and remove the
styrofoam protecting the top of the cartridge tank and the
cardboard protecting the bottom of the cartridge tank.
4. Keep all packing materials in the carton box.
5. Place the wall guard in the down position. Never operate the
heater unless the wall guard is in place.
6. INSTALLING BATTERIES(Fig.3)
The battery holder is located on the back of the heater.
Insert two(2) "D" cell batteries (supplied with this heater)
according to the plus (+) and minus(-) markings inside of the
holder.
Remove dead batteries at once and dispose of them properly.
Remove batteries when not in use or when heater is being
stored.
7. POSITION THE BURNER (Fig. 4)
Position the burner on the wick adjuster.
To confirm proper placement of the burner, grab the burner
knob and rotate the burner back and forth three or four times
until burner sets properly on the wick adjuster.
8. TEST THE AUTOMATIC SAFETY SHUT-OFF DEVICE
Turn the wick adjuster clockwise to turn the wick all the way up.
Press the extinguish button. The wick should drop down to the
lowest level.
To test if the wick has dropped to the lowest level, try to turn
the wick down further with the wick adjuster knob, by turning it counter clockwise. If the wick cannot be turned
down any further, the automatic safety shut-off device is functioning properly. Do not operate the heater if the
automatic safety shut-off device is not functioning properly.
4
NEVER LEAVE THE HEATER
UNATTENDED WHILE BURNING!
Owner's Manual
Fig. 2
Fig. 3
Fig. 4
