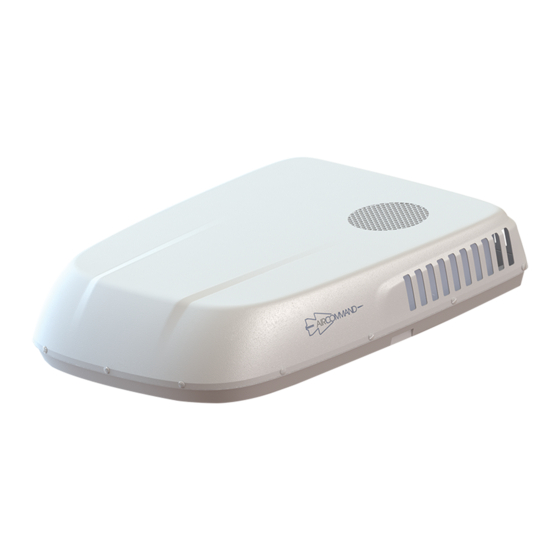
Aircommand IBIS 3 사용 설명서 - 페이지 9
{카테고리_이름} Aircommand IBIS 3에 대한 사용 설명서을 온라인으로 검색하거나 PDF를 다운로드하세요. Aircommand IBIS 3 19 페이지.

Ibis 3 Owners Guide
4. Electrical supply
This unit MUST be installed in accordance
AS/NZ
with
installations – transportable structures & vehicles
including their site supplies'. Ensure that power is
properly disconnected at the supply (mains and/or
battery). Failure to do so may result in personal
injury or death. This connection can only be done
by a suitably licensed electrical tradesperson.
From inside the caravan look up and locate the
unit's 3-pole terminal block.
Connect the power supply lead to the terminal
block of the unit taking note of the active, neutral
and ground conductors.
Figure 8 – 3 Pole terminal block
5. Secure unit to roof
Assemble the M8 bolts, washers and hold down
bars. (Item #3)
Raise the Duct and brace (Item #2) towards the
installed unit.
Insert the M8 Bolt assembly through the corner
Figure 9
holes.
Engage the bolts into the unit.
Ensure that the hold down bars are aligned with
their recess.
Tighten the 4 bolts evenly.
Tighten the bolts to 12 – 14 Nm torque. Do
not exceed 14 Nm.
3001:2008
"Electrical
Figure 8
Revision V1
Figure 9- Assemble Bolt, washer & bar into duct & brace
6. Connect return air duct
Reach up between the diagonal arms of the duct &
brace. Grasp the blue plastic collar on the end of
the concertina duct.
Pull the collar downwards until it engages with the
central duct.
Pull until the collar snaps into place with the 4
catches on the diagonal arms.
7. Attach plenum assembly
Locate the Plenum assembly (Item#4) and remove
the filter (Item #5). See
Locate 4 of the counter sunk Wood screws #6 x 1".
Connect the control cable that leads from the
plenum to the roof top unit. Ensure the plug mates
with the socket and the catch is engaged.
11
From plenum
Figure 11 - Connect control cable
Figure 10
Figure 10 - Engage central duct
Figure 16
From roof top unit
Page 9 of 19
Figure
