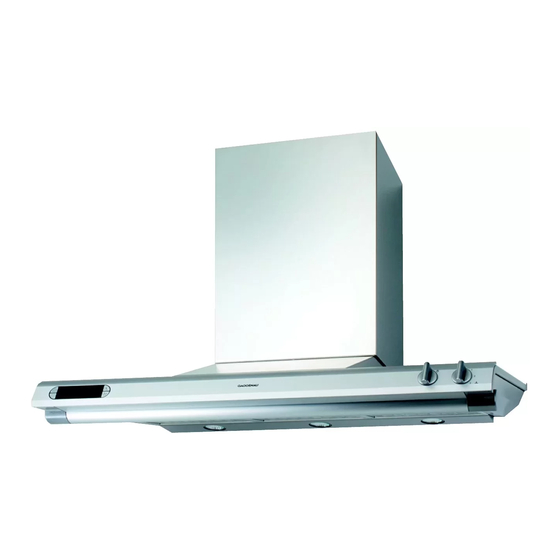
Gaggenau AH 600-190 작동 및 조립 지침 매뉴얼 - 페이지 15
{카테고리_이름} Gaggenau AH 600-190에 대한 작동 및 조립 지침 매뉴얼을 온라인으로 검색하거나 PDF를 다운로드하세요. Gaggenau AH 600-190 18 페이지. Gaggenau ventilation hood user manual
Gaggenau AH 600-190에 대해서도 마찬가지입니다: 작동 및 조립 지침 매뉴얼 (19 페이지)

15
448
137
625
mind. 600 Elektro
min. 600 electric
mind. 670 Gas
min. 670 gas
Fig. 18
Fig. 19
14
300
310
230
270
Proceed as follows:
Important: Before marking the securing holes,
make sure that no electricity or water lines or
other lines are laid at the drilling points in the wall.
Exhaust air operation:
– From the bottom edge of the hood, mark a center
line on the wall.
– With the aid of the drilling template, mark the
positions of the screws on the wall. Mark the
contour of the hook-in area. This will make it
easier to hook in the hood (Fig. 18).
– Pay attention to the minimum clearance of 600 mm
for electric cookers and 670 mm for gas cookers.
The bottom edge of the template corresponds to
the bottom from edge of the hood.
– Using the drilling template, drill the 6 holes for
the hood (area I of the drilling template) and the
two holes for suspending the chimney (area II of
the drilling template). In the top two securing
holes for the hood, fix the two hooks e with the
countersunk screws d. Make sure that the hooks
lie flatly on the wall. In certain circumstances you
may have to countersink the drill holes. Fit the
included dowels a in the other drill holes.
Note: Pay attention to any special accessories that
you may have to fit.
– Screw on the retaining bracket for the chimney
paneling.
– Detach the grease filters.
– Unscrew the two black plates on the left and right
of the chimney.
– Hang the hood on the two hooks. Adjust the
suspended element with the recessed head
screw and align the hood using a spirit level
(Fig. 19).
