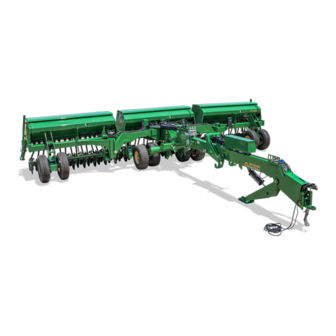
GREAT PLAINS BD7600 빠른 시작 매뉴얼 - 페이지 14
{카테고리_이름} GREAT PLAINS BD7600에 대한 빠른 시작 매뉴얼을 온라인으로 검색하거나 PDF를 다운로드하세요. GREAT PLAINS BD7600 20 페이지. Box drill
GREAT PLAINS BD7600에 대해서도 마찬가지입니다: 현장 조정 매뉴얼 (12 페이지)

10. On the Selection Calibration menu, tap the meter
intended for calibration green check mark
select meter 1-1, 1-2, and/or 1-3.
Please Note: Tapping the field will toggle to
i
populate/depopulate the green check mark.
Please Note: 3-Section Drill, Split-Box Hopper
i
configuration is shown. Shown selection
indicates calibration operation will be performed
on the Metering System 1, on the left-section
hopper box. Metering System 1 is factory preset
as the front meters on Split-Box Hoppers.
Single Box Hoppers: Skip to step 13.
11. Tap
tab.
Please Note:
i
will allow for the meter selection on Metering
System 2. Metering System 2 is factory preset
as the rear meters on Split-Box Hoppers.
Great Plains | 195-835QS | 03/25/2022
apping the Product Meter 2 tab
T
12. On the Selection Calibration menu, tap the meter
to
intended for calibration green check mark
select meter 2-1, 2-2, and/or 2-3.
Please Note: Tapping the field will toggle to
i
populate/depopulate the green check mark.
Please Note: 3-Section Drill, Split-Box
i
Hopper configuration is shown. Shown
selection indicates calibration operation will be
performed on the Metering System 2, on the
left-section hopper box. Metering System 2 is
factory preset as the rear meters on Split-Box
Hoppers.
13. After selecting meter(s) intended for calibration,
tap
soft key.
14. On the drill, adjust the range settings on the
metering drive system to the values provided in
the Material Rate manual.
15. For ease, rotate and lock the walk board into an
upright position.
16. Set feed cup flap handles to the correct position.
17 . Set upper slide gates to the correct position.
18. Close upper slide gates on rows which will not be
used for calibration.
19. Release the seed cup funnels on the collection
rows.
BD7600 Quick Start Guide
to
13
