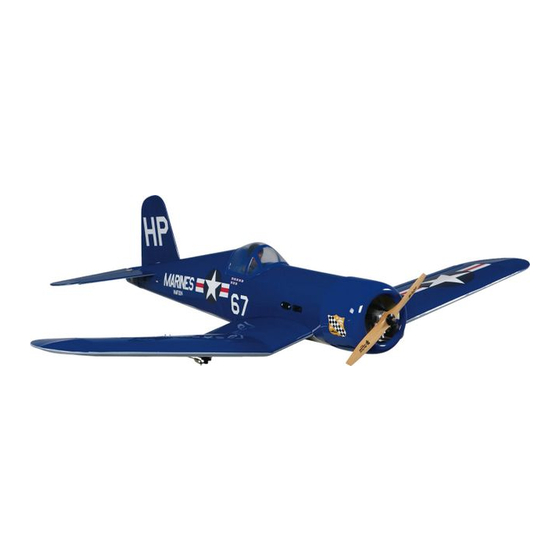
GREAT PLANES Combat Corsair 사용 설명서 - 페이지 7
{카테고리_이름} GREAT PLANES Combat Corsair에 대한 사용 설명서을 온라인으로 검색하거나 PDF를 다운로드하세요. GREAT PLANES Combat Corsair 20 페이지. 1/12 scale ama event 750, class 2610 arf

2. Attach the servo extensions to the aileron servos.
Secure the connectors together using a large piece of heat
shrink tubing, tape or other method for securing the connectors.
3. Tie the string located inside the servo compartment
to the servo wire. Pull the servo wire through the wing with
the string. Feed the servo wire out the hole in the top of the
wing center section. Tape the servo wire to the wing to
prevent it from falling back into the wing.
4. Install the servo into the opening in the bottom of the
wing. Drill a 1/16" [1.6mm] hole through the mounting holes
of the servo, drilling through the plywood plate in the wing.
Install and remove a servo mounting screw into each of the
holes. Insert a drop of thin CA into the holes to harden the
wood. After the glue has hardened, mount the servo onto the
blocks using the hardware that came with your servo. Center
the servo and install a servo arm as shown.
5. Use the nylon mounting plate and two 2 x 16mm
screws to mount a nylon control horn to the aileron as
shown in the photo and the sketch. Use a 5/64" [2mm] drill
to drill the holes for the mounting screws.
6. Make the aileron pushrod and connect the aileron
to the servo arm using the hardware shown in the photo. If
necessary, enlarge the hole in the servo arm with a 5/64"
[2mm] drill.
7. Repeat steps 1-6 for the left wing panel.
Join the Wings
1. Glue both plywood wing joiners together with epoxy.
Clamp them together until the glue hardens.
7
