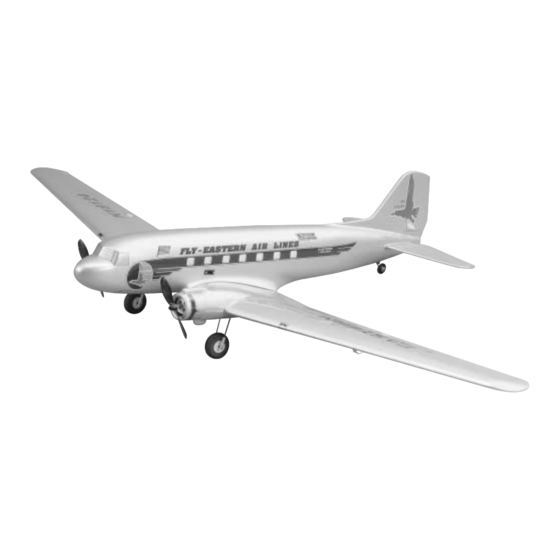
GREAT PLANES Douglas DC-3 사용 설명서 - 페이지 10
{카테고리_이름} GREAT PLANES Douglas DC-3에 대한 사용 설명서을 온라인으로 검색하거나 PDF를 다운로드하세요. GREAT PLANES Douglas DC-3 20 페이지.

2. After this assembly is completed, install it as shown
and secure it with a nylon landing gear strap and two
2.5mm x 11.5mm screws. Predrill holes for the screws. Trim
the motor cowl as required.
3. Install the second landing gear in the same manner.
Install the Aileron Servos
1. Test fit the aileron servos in the aileron servo
opening. If necessary, trim the opening in the wing to
accommodate the servo.
2. Connect a 12 inch extension to the servo lead wire and
secure with heat shrink tubing or tape. Inside the servo bay you
will find a string taped to the inside of the wing. Tie this string
securely to the servo extension connector and use the other
end of the string, in the wing center section, to pull it through.
Use the following photo for the next 3 steps.
3. Install the aileron servos using the grommets, brass
eyelets and screws supplied with the servos. Drill 1/16"
[1.6mm] holes for the screws; then screw them into place.
Remove the screws and harden the holes with a few drops of
thin CA. After the CA hardens, reinstall the servo and screws.
4. Mount the
nylon control horn
on the aileron with two
2mm x 16mm Phillips
head screws. Drill
5/64" [2mm] holes for
the screws.
5. Screw the clevis 12 full turns onto the 1.7mm x
99mm aileron pushrod. Attach the clevis to the aileron horn.
With the servo in the neutral position, use a felt-tip pen to
mark the pushrod where it crosses the hole in the servo arm.
Make a Z-bend in the pushrod at the mark. Cut the excess
pushrod off and use this to drill the hole in the servo arm. Slide
a silicone retainer over the clevis.
6. Return to step 1 and install the other aileron servo.
7. Join both aileron extensions into a "Y" connector.
Fit the Wing to the Fuselage
1. Test fit the 5mm x 50mm dowel into the front of the
wing. The dowel should protrude approximately 3/8" [9.5mm].
When you are satisfied with the fit, glue it into place as shown
in the above photo.
10
Hinge Line
Correct
Incorrect
