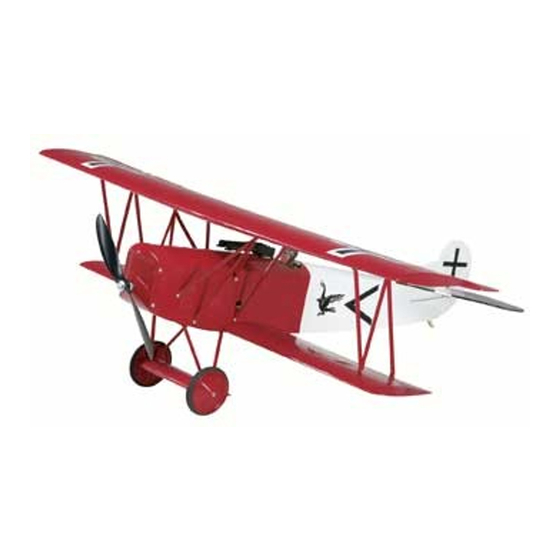
GREAT PLANES Fokker D.VII ARF ElectriFly 사용 설명서 - 페이지 13
{카테고리_이름} GREAT PLANES Fokker D.VII ARF ElectriFly에 대한 사용 설명서을 온라인으로 검색하거나 PDF를 다운로드하세요. GREAT PLANES Fokker D.VII ARF ElectriFly 20 페이지.

Install the Top Wing
❏
1. Study the above drawing carefully. There are four pairs of
strut mounts. They are labeled AC9a, AC9b, AC9c, and AC9d.
Test fit the bottom mounts into their respective strut mount
pockets in the bottom wing. Do not glue them in place.
❏
2. Use 2mm x 7mm [5/64" x 9/32"] self-tapping washer head
screws to hold the end struts in place as shown. The end struts
have "TF" stamped into them to indicate "Top Front."
❏
3. Install and remove four 2mm x 7mm [5/64" x 9/32"] self-
tapping washer head screws into the pre-drilled holes on
each side of the fuselage. Apply a couple of drops of thin CA
into each hole to harden the threads.
❏
4. Locate the two "V" shaped cabanes and screw them in
place with four 2mm x 7mm [5/64" x 9/32"] self-tapping
washer head screws as shown.
❏
5. Locate two straight cabane struts. Secure the top of the
straight cabane strut to the "V" cabane with a 2mm x 6mm
[5/64" x 7/32"] machine screw. Be sure to use a drop of
threadlocker on the screw. Attach the bottom of the strut to
the fuselage with a 2mm x 7mm [5/64" x 9/32"] self-tapping
washer head screw.
❏
6. Attach the top wing to the center cabanes with two
2-56 x 9.5mm [3/8"] machine screws and two 2mm [5/64"]
washers as shown.
❏
7. Put the center rear cabanes in place. Attach the
cabanes with 2mm x 7mm [5/64" x 9/32"] self-tapping
washer head screws at the sides of the fuselage and with
2-56 x 9.5mm [3/8"] machine screws and two 2mm [5/64"]
washers in the bottom of the top wing.
13
