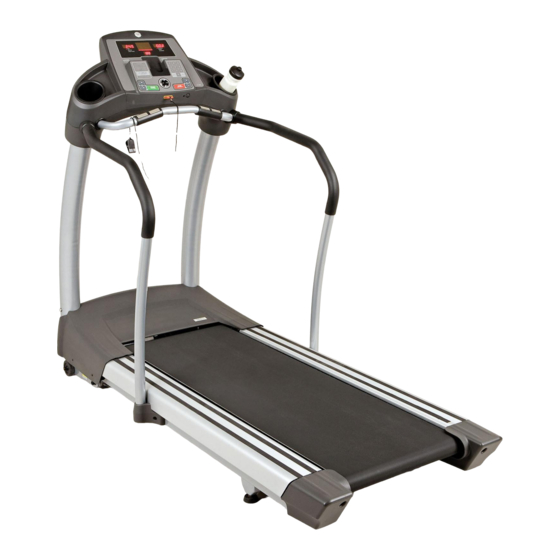
AFG 13.0AT 사용자 설명서 - 페이지 8
{카테고리_이름} AFG 13.0AT에 대한 사용자 설명서을 온라인으로 검색하거나 PDF를 다운로드하세요. AFG 13.0AT 19 페이지.
AFG 13.0AT에 대해서도 마찬가지입니다: 사용자 설명서 (20 페이지)

TENSIONING THE RUNNING BELT
The running belt has been properly adjusted at the
factory before it was shipped. At times the belt can
move off-center during shipment.
CAUTION: Running belt should NOT be moving during
tensioning. Over-tightening the running belt can
cause excessive wear on the treadmill as well as its
components. Never over-tighten the belt.
If you can feel a slipping sensation when running on the
treadmill, the running belt must be tightened. In most
cases, the belt has stretched from use, causing the
belt to slip. This is a normal and common adjustment.
To eliminate this slipping, TURN THE TREADMILL OFF
and tension BOTH THE REAR ROLLER BOLTS using the
supplied Allen wrench, turning them 1/4 TURN to the
right as shown. Turn the treadmill on and check for
slipping. Repeat if necessary, but NEVER TURN the
roller bolts more than 1/4 turn at a time. Belt is properly
tensioned when the slipping sensation is gone.
Belt is too far to the right side
Belt is too far to the left side
1
13.0AT_Rev.1.7.indd 14-15
CENTERING THE RUNNING BELT
The running belt has been properly adjusted at the
factory before it was shipped. At times the belt can
move off-center during shipment. Before operating the
treadmill, make sure the belt is centered and remains
centered to maintain smooth operation.
CAUTION: Do not run belt faster than 1/2 mph while
centering. Keep fingers, hair and clothing away from
belt at all times.
If the running belt is too far to the right side:
With the treadmill running at 1/2 mph, turn the right
adjustment bolt clockwise 1/4 TURN at a time (using
the supplied Allen wrench). Check the belt alignment.
Allow belt to run a full cycle to gauge if more adjustment
is needed. Repeat if necessary, until the belt remains
centered during use.
If the running belt is too far to the left side:
With the treadmill running at 1/2 mph, turn the right
adjustment bolt counter-clockwise 1/4 TURN at a time
(using the supplied Allen wrench). Check the belt
alignment. Allow belt to run a full cycle to gauge if more
adjustment is needed. Repeat if necessary, until the
belt remains centered during use.
TREAD MIL L O PERATIO N
J B
J A
I
J G
J D
Note: There is a thin protective sheet of clear plastic on the overlay of the console and should be removed.
A)
WORKOUT PROFILE DISPLAY: Displays workout profiles.
B)
ADDITIONAL DISPLAY WINDOWS: Time, Incline, Distance, Speed, Heart Rate and Calories.
C)
CLOCK / DATE WINDOW: Displays either Clock or Date.
D)
START:
Simply press to begin exercising or starts your workout
E)
STOP:
Press to pause/end your workout. Hold for 3 seconds to reset the treadmill
F)
PROGRAMMING BUTTON: Used to select Program, Level and Time, and other options. Press to change display feedback
during workout.
G)
INCLINE ARROW KEYS: Press to adjust incline (+/- 0.5% increments).
H)
SPEED ARROW KEYS: Press to adjust speed (+/- 0.1 MPH increments).
I)
PROFILE™ BUTTON:
Used to scroll through proFILE™ display modes
j)
QUICK ADjUST KEYPAD:
Used to reach desired speed or incline more quickl
K)
AUDIO IN (NOT SHOWN): Plug your CD / MP3 player into the console using the included audio adaptor cable.
L)
AUDIO OUT / HEADPHONE jACK (NOT SHOWN): Plug your headphones into this jack to listen to your music through the
headphones.
J C
J B
J J
J F
J E
J H
.
.
.
y.
1
4/1/08 3:41:09 PM
