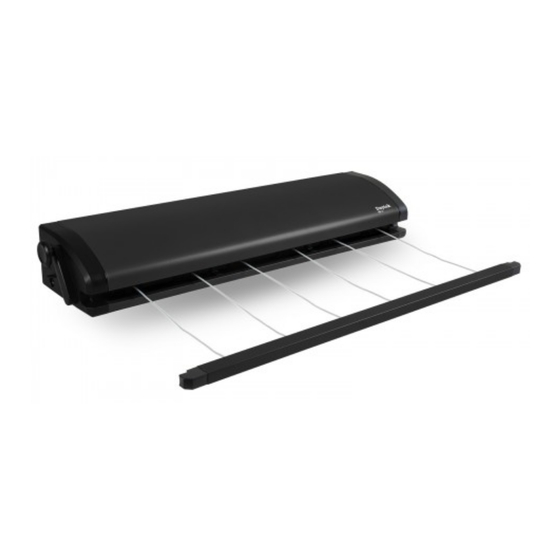
DAYTEK 4 LINE 사용 설명서 - 페이지 3
{카테고리_이름} DAYTEK 4 LINE에 대한 사용 설명서을 온라인으로 검색하거나 PDF를 다운로드하세요. DAYTEK 4 LINE 15 페이지. Outdoor retractable clotheslines
DAYTEK 4 LINE에 대해서도 마찬가지입니다: 제품 설명서 (4 페이지)

1. Mark recommended installation height, cabinet
and bracket center positions (refer to Wall
Mounting Hole Position Table). (See Fig. 1)
1
Users
CABINET
Height
WALL
+
SIDE
100mm
(+4 inches)
GROUND
7 meters (23 feet)
LEVEL
3. Drill four mounting holes with 10mm
diameter x 50–60mm (2.0-2.4 inch) depth
on the bracket wall side. (See Fig. 3)
4. To install bracket, insert plastic plug into
the hole and secure bracket with screws
and tighten into position. Repeat to install
second bracket. (See Fig. 4)
5. To install cabinet, insert plastic plug into
the hole and affix screws leaving 10-15mm
(0.4 – 0.6 inch) distance from shoulder
head to the wall. (See Fig. 5)
6. Align and locate cabinet mounting hole
into screw and pull down slightly to secure
correctly. Ensure unit is sitting flat and if
required reduce distance of screw from the
wall to suit. (See Fig. 6)
VIEW FROM
ABOVE
BRACKET
WALL
SIDE
WALL
5
10-15mm
(0.4 – 0.6 inches)
3
2. Drill two cabinet mounting holes with 10mm
(25/64") diameter x 50–60mm (2.0-2.4 inch)
depth on the cabinet wall side. (See Fig. 2)
2
PRODUCT
CENTRE LINE
35mm
PRODUCT
CENTER LINE
WALL
4 Line – 551mm / 21.6 inches
5 Line – 681mm / 26.8 inches
6 Line – 811mm / 31.9 inches
4 Line – 225mm (8.9 inches)
5 Line – 355mm (14.0 inches)
6 Line – 225mm (8.9 inches)
35mm
MOUNTING HOLE
3
4
6
