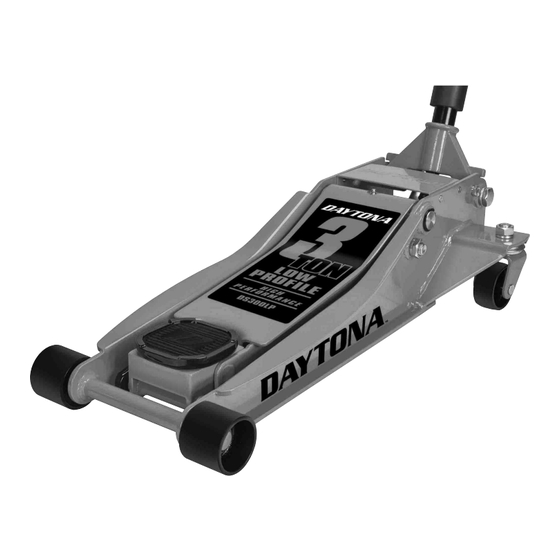
Daytona 64780 사용 설명서 및 안전 지침 - 페이지 6
{카테고리_이름} Daytona 64780에 대한 사용 설명서 및 안전 지침을 온라인으로 검색하거나 PDF를 다운로드하세요. Daytona 64780 13 페이지. 3 ton low profile floor jack
Daytona 64780에 대해서도 마찬가지입니다: 사용 설명서 및 안전 지침 (13 페이지)

Set Up
Read the ENTIRE IMPORTANT SAFETY INFORMATION section at the beginning of this
manual including all text under subheadings therein before set up or use of this product.
Removing Shipping Block
CAUTION! The Handle socket is held down by a plastic block. Wear ANSI-approved
safety goggles before freeing Handle socket. Remove block carefully.
A plastic block holds the Handle Socket in position during shipment. This
helps prevent shipping damage. To remove it:
1. Insert the Handle into Handle Socket.
2. Press down on Handle.
Attaching the Handle
1. Slide the Upper Handle into the Lower Handle.
Line the Button on the Lower Handle up with the
hole in the Upper Handle until it clicks into place.
Bleeding Trapped Air
1. With the Jack fully lowered, remove both Screws
on the end of the Cover Plate that is closer to the
Saddle. Swing the Cover Plate open. See Figure A.
2. Remove the Fill Plug on top of the Cylinder.
Check that the oil level inside the Cylinder is
at the top of the Piston. See Figure B.
3. Insert the Handle into the Handle Socket
to operate the Release Valve.
4. Turn the Handle counterclockwise to open the valve.
5. Pump the Handle up and down quickly
10-15 times to force air from the system.
6. Replace the Fill Plug, close the
Cover Plate, and reinstall the Screws.
Adding Oil
NOTICE: To prevent damage and premature wear,
use only non-detergent 22 weight hydraulic jack oil.
1. With the Jack fully lowered, remove both Screws
on the end of the Cover Plate that is closer to
the Saddle. Swing the Cover Plate open.
2. Remove the Fill Plug on top of the Cylinder.
3. Add non-detergent 22 weight hydraulic jack oil
into the Fill Plug hole slowly until the oil level just
covers the top of the Piston inside the Cylinder.
4. Replace the Fill Plug, close the
Cover Plate, and reinstall the Screws.
Page 6
For technical questions, please call 1-888-866-5797.
3. Remove the plastic block.
4. Return Handle to original position.
2. Loosen the Set Screw and insert the grooved end
of the assembled Handle into the Handle Socket.
3. Tighten the Set Screw.
Fill Plug
Figure A: Hydraulic Unit
Fill Plug
Oil
Piston
Cylinder
Figure B: Fill Level
Safety Valve Covers
Do not open or adjust.
FILL LEVEL
Item 64780
