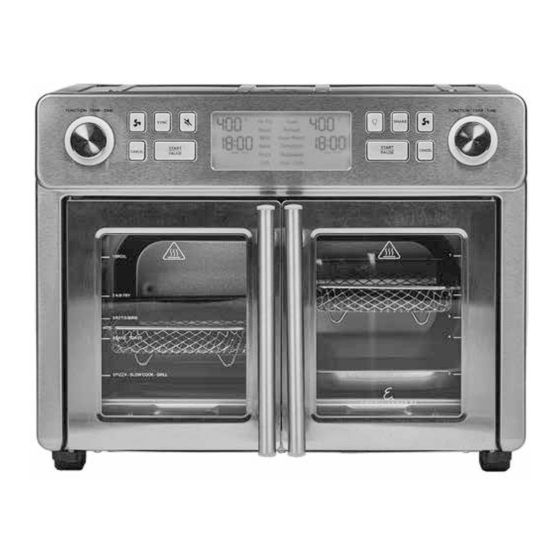
Emeril Lagasse DZEL24-01 소유자 매뉴얼 - 페이지 13
{카테고리_이름} Emeril Lagasse DZEL24-01에 대한 소유자 매뉴얼을 온라인으로 검색하거나 PDF를 다운로드하세요. Emeril Lagasse DZEL24-01 20 페이지. Dual-zone airfryer oven
Emeril Lagasse DZEL24-01에 대해서도 마찬가지입니다: 소유자 매뉴얼 (20 페이지), 소유자 매뉴얼 (20 페이지)

Instructions for Use
Before First Use
1.
Unpack all parts from the box and remove any clear or blue protective film on the components. Check all packaging
material thoroughly for accessories. Wash the accessories with warm, soapy water before first use (only select
accessories are dishwasher safe).
2.
Remove and save all literature.
3.
Wash all removable accessories (see the "Care & Cleaning" section).
4.
Select a location to place the appliance. The location should allow enough space for air flow (at least 6 inches of
free space on the top, back, and sides of the appliance). The surface on which the appliance is placed should be
horizontal, stable, and heat resistant.
General Operating Instructions
Dual-Zone Cooking
1.
Insert the Drip Tray inside the appliance (see the "Using the Drip Tray" section).
2.
Insert the Divider (see the "Using the Divider" section).
3.
Select accessories appropriate for your recipe. Add food to the accessories. Insert your chosen accessory inside
the appliance (see the "Using the Crisper Tray, Oven Rack, and Baking Pan" section).
4.
Turn the left Control Knob to select the left cooking zone's cooking function. A bracket will mark the left side of the
selected function on the Control Panel. Press and turn the Control Knob to adjust the cooking time and temperature.
5.
Turn the right Control Knob to select the right cooking zone's cooking function. A bracket will mark the right side of
the selected function on the Control Panel. Press and turn the Control Knob to adjust cooking time and temperature.
6.
Optional: Set the Shake Indicator and Sync feature (see the "Using the Shake Indicator" and "Using the Sync
Buttons" sections).
7.
Press the Start/Pause Button above a cooking zone to begin the cooking cycle in that cooking zone.
8.
When the cooking time has completed, cooking will stop and the fan will continue to run for 30 seconds to cool
down the appliance.
Single-Zone Cooking
1.
Insert the Drip Tray inside the appliance (see the "Using the Drip Tray" section).
2.
Do not insert the Divider.
3.
Select accessories appropriate for your recipe. Add food to the accessories. Insert your chosen accessory inside the
appliance (see the "Using the Crisper Tray, Oven Rack, and Baking Pan" and "Using the Rotisserie Set" sections).
4.
Use the left or right Control Knob to select a cooking function. A bracket will mark the selected function on the
Control Panel. Press and turn either Control Knob to adjust the cooking time and temperature.
5.
Optional: Set the Shake Indicator (see the "Using the Shake Indicator" section).
6.
Press the Start/Pause Button to begin the cooking cycle.
7.
When the cooking time has completed, cooking will stop and the fan will continue to run for 30 seconds to cool
down the appliance.
NOTE: You can press the Start/Pause Button at any time during the cooking process to pause the cooking process.
When you press the Start/Pause Button again, the programmed cooking cycle will resume.
13
