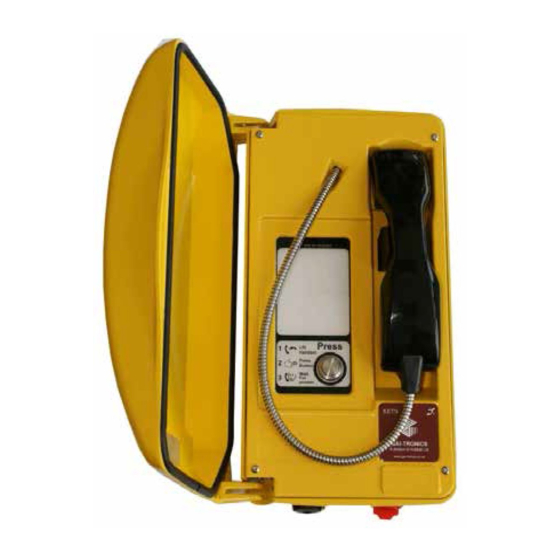
GAI-Tronics Titan 설치 및 사용자 설명서 - 페이지 12
{카테고리_이름} GAI-Tronics Titan에 대한 설치 및 사용자 설명서을 온라인으로 검색하거나 PDF를 다운로드하세요. GAI-Tronics Titan 14 페이지. Illuminated crossing telephone

Note: The cable gland must be fully tightened before the rear enclosure is
secured to the mounting bracket as there is insufficient access to the gland
afterwards.
6. Attach the base to the mounting bracket using the four M6 x 25 screws
supplied (5mm socket wrench required).
3.4 Connections and Cabling
IMPORTANT:
ISOLATE TELEPHONE LINE BEFORE OPENING THE CASE.
For connection to a Whitely PETS, the push-button is normally wired in series
with the line by connecting the 'A' leg of the line pair to terminal 1, and linking
terminal 3 to terminal 10.
To enable ringing link terminals 5 & 6.
Linking terminals 7 & 8 will power the illuminated panel and switch. Illumination
current will be interrupted if the handset integrity loop is broken.
Titan Illuminated Crossing Telephone
Push
button
1
2
3
4
'A' LEG
5
6
7
8
'B' LEG
9
10
10
