GAI-Tronics Titan Illuminated Crossing Telephone 설치 및 사용자 설명서 - 페이지 8
{카테고리_이름} GAI-Tronics Titan Illuminated Crossing Telephone에 대한 설치 및 사용자 설명서을 온라인으로 검색하거나 PDF를 다운로드하세요. GAI-Tronics Titan Illuminated Crossing Telephone 14 페이지. Illuminated crossing telephone
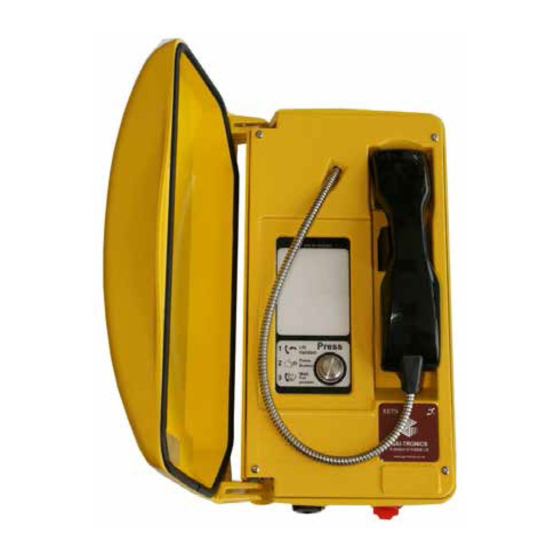
2. Select the appropriate sized cable gland provided:
Use the smallest gland for cables diameters 4 - 7mm.
Use the largest gland for cable diameters 8 - 13mm.
3. Insert the selected gland into the threaded cable entry hole and tighten
using a 19mm A/F spanner, so that its sealing washer is compressed
against the enclosure surface.
Using a suitable tool to create the mounting holes needed by punching through
the centre of the plastic flanged bushes fitted to the back wall of the rear
enclosure.
WARNING:.Your warranty will be invalidated if :-
1. Any fixing hole made in the rear enclosure is left unused.
2. Any additional holes are drilled into the telephone enclosure.
Titan Illuminated Crossing Telephone
Figure 4 – Gland fitting
Figure 5 – Threading the cable
Figure 6 – Tightening the gland
6