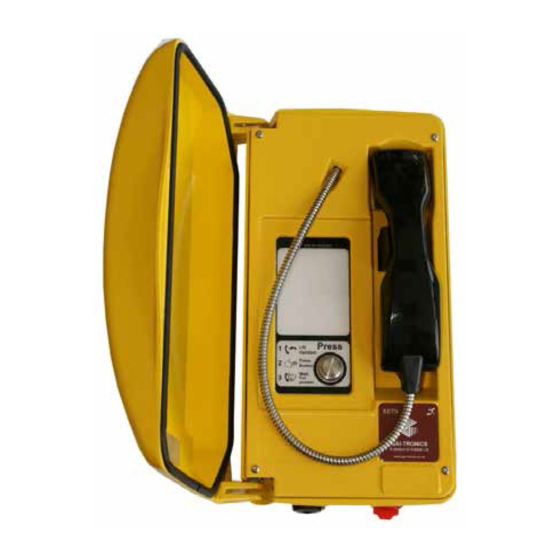
GAI-Tronics Titan 설치 및 사용자 설명서 - 페이지 11
{카테고리_이름} GAI-Tronics Titan에 대한 설치 및 사용자 설명서을 온라인으로 검색하거나 PDF를 다운로드하세요. GAI-Tronics Titan 14 페이지. Illuminated crossing telephone

4. Make the necessary connections
5. Secure the telephone front plate to its rear enclosure,.
6. Offer the complete telephone up to the required mounting location.
7. Pass a proprietary banding strap round each of the pole mounting clamps
and support pole.
8. Tighten the straps firmly and trim off any excess band material. For
additional security the driving head of the band may be sawn off.
9. Connect and test the installation.
3.3 Post Mounting
Kit No 100-02-0209-001
For mounting telephones onto the top of 2 inch (50.8mm) diameter posts.
1. Slacken the socket grub securing screws at the base of the bracket (3mm
socket wrench required) and locate it on top of support post.
2. Tighten both screws firmly so that the post is seated against the internal
walls of the bracket. Ensure that approximately 200mm of cable emerges
from the top of the post.
3. Remove the telephone front plate from the rear enclosure as described
under Vertical Surface or Wall Mounting.
4. Offer the rear enclosure into position on the bracket with cable passing
through the entry gland.
5. Pass about 150mm of cable through the gland and tighten it firmly on to the
cable.
Titan Illuminated Crossing Telephone
Figure 11 – Post mounting
9
