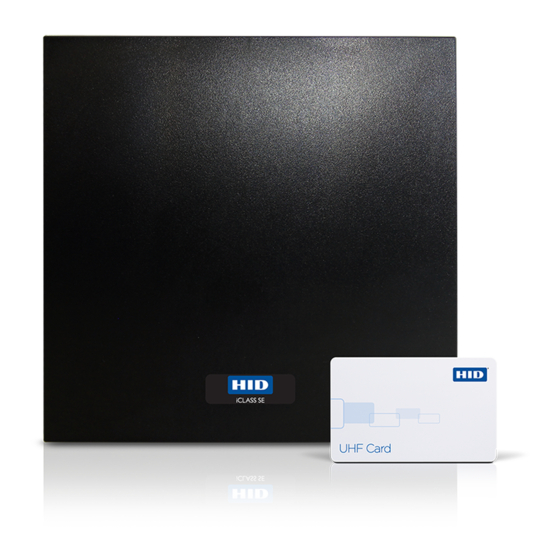
HID iCLASS SE U90 Series 설치 매뉴얼 - 페이지 2
{카테고리_이름} HID iCLASS SE U90 Series에 대한 설치 매뉴얼을 온라인으로 검색하거나 PDF를 다운로드하세요. HID iCLASS SE U90 Series 9 페이지.

I N STALLATI ON GUI DE
Installation
1
Mounting
200
100
75
EU
JBOX
75
100
200
Mounting holes need to be drilled to mate with the mount
selected for the site.
This Installation Guide is for informational purposes only. HID makes no warranties, expressed or implied, in this summary. Company, product names and data used in sample output
are fictitious. Specifications are subject to change without notice.
© 2014 HID Global Corporation/ASSA ABLOY AB. All rights reserved. HID, the HID logo, and iCLASS SE are trademarks or registered trademarks of HID Global in the U.S. and/or
other countries. All other trademarks, service marks, and product or service names are trademarks or registered trademarks of their respective owners.
h id g l o b a l.co m
200
VESA
CONDUIT
US
JBOX
75
100
EU
JBOX
EU
JBOX
EU
JBOX
75
US
JBOX
100
200
Trim Gasket to match the contact area
An ASSA ABLOY Group brand
iCLASS SE
U90 (U90.915 & U90.865)
There are many options for mounting surfaces (pole, concrete,
metal, wall bracket, etc.). See the iCLASS SE U90 Reader User
Guide for detailed information.
Modify the gasket to the match the large holes on the
mounting plate and to match the area between the mount and
the box, to create a seal against the elements (see below).
Attach the box with the gasket to the mount
