Gainlab Audio BISHOP 빠른 시작 매뉴얼 - 페이지 10
{카테고리_이름} Gainlab Audio BISHOP에 대한 빠른 시작 매뉴얼을 온라인으로 검색하거나 PDF를 다운로드하세요. Gainlab Audio BISHOP 10 페이지.
Gainlab Audio BISHOP에 대해서도 마찬가지입니다: 매뉴얼 (15 페이지)
TONE CONTROL SECTION
Tc
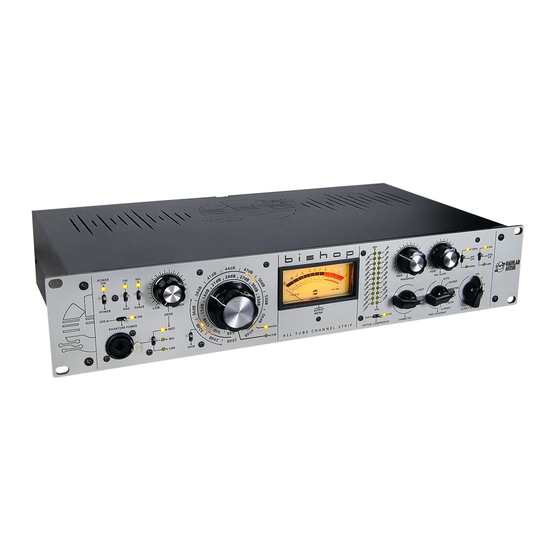
On the top right side of the Bishop, you'll find
the controls for the filter section, which
determine the tonal characteristics of the
sound processed by the Bishop.
The HPF
switch
activates a simple
high-pass filter
designed to eliminate potential muddiness in
the low-frequency range. One common issue
this can address is the proximity effect often
seen with large-diaphragm condenser
microphones. We recommend starting with
lower frequency values when experimenting with this. In this case,
begin
with a 60Hz low-cut filter, and if that doesn't resolve the issue, then
switch to 120Hz.
The
DynAir switch
engages the
AIR band in two positions.
This results in
a gently rising shelving filter with a very natural sound. When using the
Air function, it's a good idea to begin by adjusting higher frequencies.
Start with 30kHz first, and if you're not satisfied with the result, then try
experimenting with 20kHz.
When using the
Air function in conjunction with the built-in
compressor,
you'll notice that the effect produced by the Air function isn't constant;
rather, it depends on the current gain reduction value of the compressor.
The relationship is such that as the gain reduction increases, the Air
band boosts more.
YOU CAN FIND DETAILED INFORMATION
ABOUT THE PRODUCT IN
THE BISHOP USER MANUAL.
IF YOU HAVE ANY QUESTIONS,
FEEL FREE TO REACH OUT TO US
ON THIS PAGE.
WWW.GAINLABAUDIO.COM