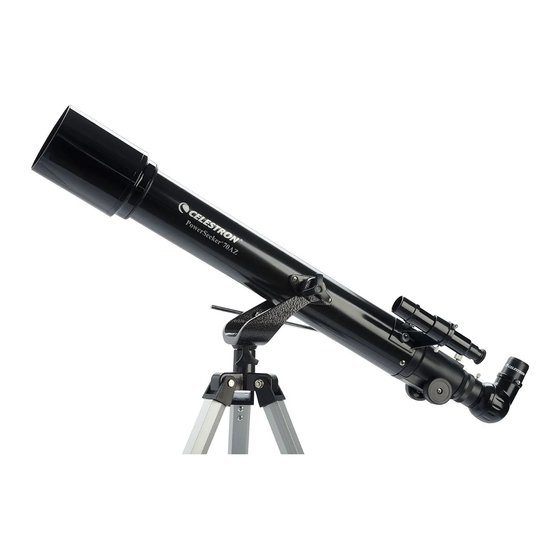
Celestron C102-AZ 사용 설명서 - 페이지 2
{카테고리_이름} Celestron C102-AZ에 대한 사용 설명서을 온라인으로 검색하거나 PDF를 다운로드하세요. Celestron C102-AZ 15 페이지. Refracting telescopes
Celestron C102-AZ에 대해서도 마찬가지입니다: 사용 설명서 (14 페이지)

- 1. Y O U R T E L E S C O P E
- 2. Adjusting the Tripod Height
- 3. Attaching the Telescope to the Mount
- 4. The Eyepieces
- 5. Aligning the Finder
- 6. Calculating Magnification
- 7. Your First Look
- 8. Daytime Observing
- 9. Observing Deep-Sky Objects
- 10. Maintenance
- 11. Care and Cleaning of the Optics
- 12. Storing Your Telescope
- 13. Technical Specifications
- 14. Optional Accessories
A
A S S E M B L I N G
Unpacking Your
Firstscope AZ
Setting Up the Wood
Tripod
Setting Up the
Aluminum Tripod
2
Y O U R
F I R S T S C O P E A Z T E L E S C O P E
The Firstscope AZ is a refractor telescope offered on an Altazimuth mount.
The C102-AZ is similar to the Firstscope AZ and all text referred to in this
manual on the Firstscope AZ applies equally to the C102-AZ. The telescope is
shipped in one box which contains the optical tube, altazimuth mount and all
the standard accessories, which include:
• 25mm SMA Ocular 1-1/4" (36x) - with 70mm and 80mm models
• 6mm F Ocular 1-1/4" (150x) - with 70mm only
• 20mm Plossl Ocular 1-1/4" (50x) - with 102mm only
• 6x30 Finderscope (for the 80mm and 102mm); 5x24 (for the 70mm)
• 45° Erect Image Diagonal 1-1/4"
• Slow Motion Controls
• Adjustable Wood Tripod (some models have an aluminum tripod)
Use the accompanying diagram (on page 3) to identify the various parts of your
telescope for assembly and ongoing use.
When setting up the telescope, find a large, clear area where the parts can be
laid out. Remove the contents of the box and place them neatly on your work
surface. Once your refractor has been unpacked and assembled, you will not
need the boxes for everyday storage and transportation. However, you should
save the box in case you need to ship your telescope via a common carrier.
To begin setting up your Firstscope AZ, start with the tripod and work up from
there.
Locate the Altazimuth mount and the tripod legs along with the tripod mounting
hardware and the tripod accessory tray.
1. Lie the tripod head on its side. Attach the three tripod legs one by one on
the tripod head with the bolts and wing nuts. Do not overtighten the bolts but
just make them finger tight. Remember to have each tripod leg in the right
orientation with the tripod tray bracket facing inward.
2. Now set the tripod with the Altazimuth mount attached in the standing
position by speading the legs apart far enough for the tripod accessory tray to
fit.
3. You are now ready to install the tripod accessory tray. The tripod tray
bracket fits into the holes in the bottom of the tray (use the slots on the end of
the brackets).
Use the bolts and wing nuts to attach each bracket to the tray.
4. Tighten all bolts and wing nuts to ensure proper stability.
If your model has the Aluminum Tripod:
1. Attach the legs to the tripod head as above.
2. Spread the legs apart.
T E L E S C O P E
