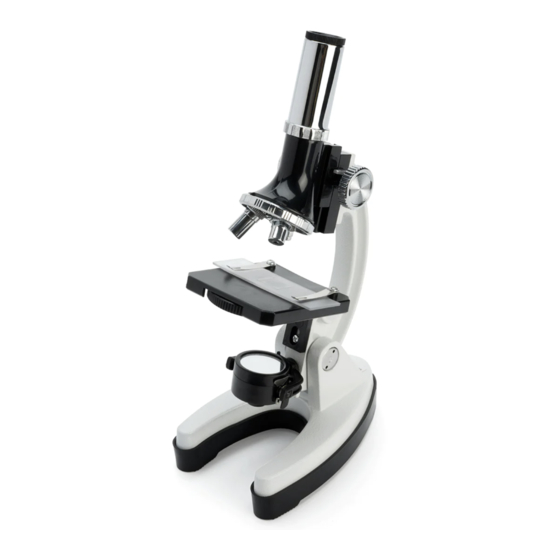
Celestron 44124 빠른 설정 매뉴얼 - 페이지 3
{카테고리_이름} Celestron 44124에 대한 빠른 설정 매뉴얼을 온라인으로 검색하거나 PDF를 다운로드하세요. Celestron 44124 13 페이지. Basic microscope kit
Celestron 44124에 대해서도 마찬가지입니다: 사용 설명서 (17 페이지), 사용 설명서 (10 페이지)

2. Unscrew at least one screw holding in the rubber cover on the base (N) and install the two AA batteries
(not included) See Fig. 2
CAUTION: Take care to install the batteries in the correct orientation. Follow battery manufacturer's precautions.
Do not install batteries backwards, or mix new and used batteries. Do not mix alkaline, standard (carbon-zinc),
or rechargeable batteries.
3. You are now ready to use your microscope!
Figure 2
Figure 3
CAUTION: When finished observing using the light bulb illuminator, be sure to flip the Illuminator over
180°, turning off the lamp ensuring a long life of the bulb.
To download the complete instruction manual, or for full product specifications and other useful information,
please visit www.celestron.com.
© 2019 Celestron • All rights reserved • celestron.com/pages/technical-support
2835 Columbia Street • Torrance, CA 90503 USA
OBSERVING
1.
Lower the stage (K). Then rotate the objective
nosepiece (H) until the shortest objective (100X)
is over the stage opening as shown in Fig. 3.
2. Place a specimen of your choice on a slide (A)
and place the slide under the stage clips (J).
Position the specimen over the Stage opening.
3. Look through the eyepiece (E) and slowly
turn the focus knob (G) until the specimen
comes into focus.
4. Adjust the mirror or bottom illuminator (M)
to change the amount of light shining
through the specimen to optimize the image.
5. To increase the magnification, lower the
stage once again and rotate the nosepiece to
line up either the 600X or 1200X Objective.
HELPFUL TIPS
• Always make sure to lower the stage
before rotating the nosepiece to change the
objective power. This will ensure the objective
will not be damaged by contacting the stage.
• The view through the eyepiece will appear
upside down and reversed from left to right.
Take this into consideration when moving
the specimen slide around on the stage.
• Do not always assume that increasing
magnification will produce the best image for
viewing. Each time you increase the magnification,
the amount of light decreases, and the section
of the image you are able to view also decreases.
Experiment observing with all three objectives
for all specimens until you get a feel for the
magnification levels.
2
