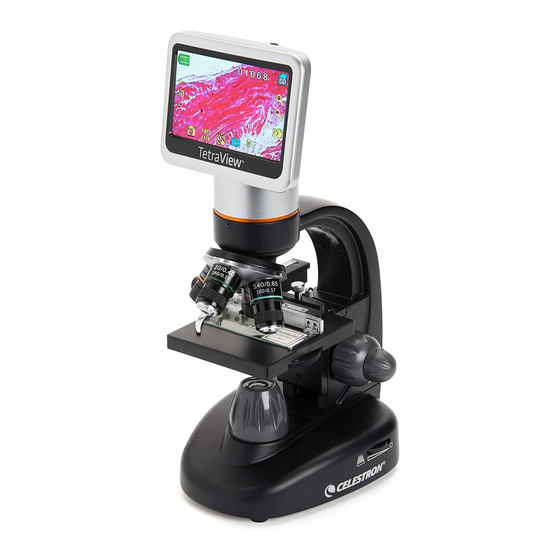
Celestron TetraView 44349 사용 설명서 - 페이지 6
{카테고리_이름} Celestron TetraView 44349에 대한 사용 설명서을 온라인으로 검색하거나 PDF를 다운로드하세요. Celestron TetraView 44349 8 페이지. Lcd digital microscope
Celestron TetraView 44349에 대해서도 마찬가지입니다: 빠른 설정 매뉴얼 (4 페이지), 빠른 시작 매뉴얼 (2 페이지)

DIGITAL IMAGING
You can take snapshots or a short video with your microscope
using the built-in digital camera. With the SD card memory, you
do not need to use a PC or any other devices to do imaging.
Transferring images to your PC for saving or printing is easy and
will be discussed later in this manual.
NOTE:
If you are going to take images, do not connect the USB cable to your PC
or damage could occur to the equipment. The USB cable is not used for
taking images.
SETTINGS AND INFORMATION FOR THE
DIGITAL CAMERA AND THE TOUCH SCREEN
The touch screen icons and their functions are quite easy to use.
Below we'll discuss the general use of the icons. Typically, you use
your fingers with the touch screen, but you can use the included
touch pen as well. You will find the following 12 icons when in
viewing/snapshot mode:
NOTE:
After turning the LCD Monitor off, most settings will revert to the default settings.
VIEWING/SNAPSHOT MODE
1
2
3
4
1. Increase EV function
2. Decrease EV function
3. Selection mode
4. Pixel setting
5. Snapshot selection
6. Color special effect
Settings Icon (7)
Time & Date — Year, month, date, and time
Language — Choose from Chinese (simple or traditional), English,
French, German, Italian, Japanese, Korean, Portuguese,
Russian, and Spanish
Beep — Beeps with each touch of the screen (can be disabled)
Default Factory Settings — Revert to factory settings
Format- Format the SD card
TV OUT - Sends a signal to an external monitor
Pixel setting icon (4)
Lightly tap the icon to change the pixel setting from 640x360,
1920x1080, 2048x1152, 2560x1440, 3072x1728, and
3648x2048. 3072x1728 is the sensor resolution and 3648x2048
gives you higher resolution through interpolation.
Snapshot selection (5)
The default setting is single shot, but you can set for timed shots.
| ENGLISH
6
12
11
5
6
7
7. Settings
8. Shutter trigger/take snapshot
9-10. Digital zoom indicator — +
11. SD card storage
12. Snapshots remaining
VIDEO MODE
To take videos, change the "video" setting first. The icons on this
image (Figure 10) work the same way as in the snapshot mode with
the following exceptions:
VIDEO MODE
3
(3) Touch to go to viewing mode.
(4) Set the pixel size to 640x360 (the highest resolution for videos) by
touching the screen. In both resolutions (high 640x360 or low - QVGA),
10
the frame specifications is 20fps.
(8) Record Video — Touch to begin video and touch again to stop
9
the video.
(12) Indicates recording time remaining
8
SNAPSHOT OR VIDEO REVIEW
From the video mode, touch the video icon in the lower left of the
screen to go to the review mode. In this mode, you can review the
Fig 9
snapshots and videos you have taken. Touch the arrows and touch/
scroll the screen to navigate and view your videos and snapshots.
You can also delete them if you choose.
NOTE:
Inserting or removing an SD card while the LCD is on may cause the LCD to shut
down and/or could damage the SD card.
TRANSFERRING YOUR IMAGES
To transfer images to a PC or Mac, you need to have a free USB
port on your PC and have an imaging program for snapshots and/
or video.
NOTE:
Do not disconnect the USB cable while transferring images or damage may occur.
1. You can transfer images from the SD card to your PC by using
the supplied USB cable. The small plug end of the cable plugs
into the LCD monitor (see Figure 1) and the large plug end of
the cable plugs into your PC.When connected properly, you will
see "MSDC" or similar on the screen. Your PC will automatically
recognize the new hardware. Then you will choose a program
on your PC to use for transferring images.
2. You can take the SD card out and use the SD card slot on your
PC (if available) to transfer the images as well. Either way, your
PC will ask you to choose which program you want to transfer the
images to.
Deleting all Snapshots/Video Images – To delete all images
use the memory format function, select Settings / Memory / Format
and choose SD card or Flash memory.
4
.
12
8
Fig 10
