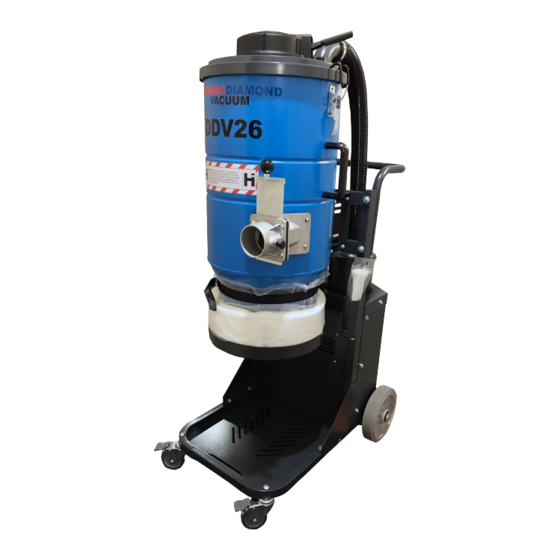
DYNAMIC DIAMOND TOOLING DDV26 매뉴얼 - 페이지 4
{카테고리_이름} DYNAMIC DIAMOND TOOLING DDV26에 대한 매뉴얼을 온라인으로 검색하거나 PDF를 다운로드하세요. DYNAMIC DIAMOND TOOLING DDV26 16 페이지.

THERMAL PROTECTION
The dust extractor is equipped with a safety thermal protector to prevent motor from
overheating. Should thermal protector activate, turn off machine, unplug power cord
and check for full dust bag, vacuum hose clog or filter blockage. It may take up to 45
minutes for the thermal protector to reset.
GROUNDING INSTRUCTION
The dust extractor must be grounded. If it should malfunction or breakdown, grounding
provides a path of least resistance for electric current to reduce the risk of electric shock. The
dust extractor is equipped with a cord having an equipment-grounding conductor and
grounding plug. The plug must be inserted into an appropriate outlet that is properly installed
and grounded in accordance with all local codes and ordinances.
SAFETY LABEL
The following label appears in front of the machine. Check all the details stated in the label
before using.Replace label if it is missing, becomes damaged or illegible. Failure to follow this
warning label may result in fire, electric shock or injury.
2.UNPACKING
When unpacking the machine, please check that the following accessories are included:
The hose with end fittings
Wand
Floor brush
If any of the above-mentioned parts are missing, please contact your local distributor or
our sales representative. For models that do not already have the front casters
assembled due to packaging limitations. Assemble the front casters using the using bolt
or nut and washer that are included in the package depending on your application.
Protect the environment:
Please dispose of packaging materials and used machine components in an
environmentally safe way according to local disposal regulations. Always remember to
recycle.
To assemble the accessories:
1. Connect the floor brush and wand
3. Connect the hose and adaptor
Note: Don't roll or twist the hose when working.
3. FUNCTION
2. Connect the Wand and hose
4 . Connect the accessories kit and the inlet
