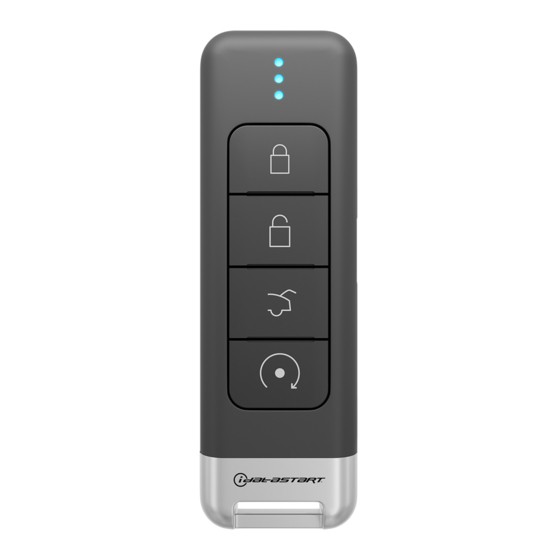
Automotive Data Solutions iDatastart 소유자 매뉴얼 - 페이지 10
{카테고리_이름} Automotive Data Solutions iDatastart에 대한 소유자 매뉴얼을 온라인으로 검색하거나 PDF를 다운로드하세요. Automotive Data Solutions iDatastart 18 페이지.
Automotive Data Solutions iDatastart에 대해서도 마찬가지입니다: 소유자 매뉴얼 (12 페이지)

PROGRAMMING A NEW REMOTE
Are you replacing a lost or damaged remote or simply adding an extra remote to your iDatastart system?
Please take note of the following:
1. A functional iDatastart system must already be installed in your vehicle.
2. All new remotes must be installed by an iDatastart Authorized Dealer.
3. A maximum of 4 remotes can be programmed to your iDatastart system.
CHARGING THE REMOTE'S BUILT-IN BATTERY
Your iDatastart remote has a built-in rechargeable battery that can be charged using USB or wireless charging.
To charge your remote using USB:
1. Insert the USB cable into the remote's USB port.
2. Connect the USB cable to the USB power adapter.
3. Plug the USB power adapter to a power outlet.
4. The LEDs will turn on to indicate that the remote is charging.
To charge your remote using wireless charging:
1. Connect the wireless charging pad to a power outlet.
2. Place the wireless charging pad on a leveled surface.
3. Center the remote on the wireless charging pad with the LEDs facing up.
4. The LEDs will turn on to indicate that the remote is charging.
CHARGING STATUS
Bottom LED flashing green.
Center LED flashing green.
Top LED flashing green.
All LEDs are solid green.
Battery Level
0% – 33%
33% – 66%
66% – 100%
The remote is fully charged.
2022-02-9 © Automotive Data Solutions Inc. 10/17
TR4450A
