Celexon PL400 HC plus 설치 매뉴얼 - 페이지 3
{카테고리_이름} Celexon PL400 HC plus에 대한 설치 매뉴얼을 온라인으로 검색하거나 PDF를 다운로드하세요. Celexon PL400 HC plus 9 페이지. Projector lift

4 x sliding angles
1 x plastic spiral to collect
the projector cables
fig. L1
Installation
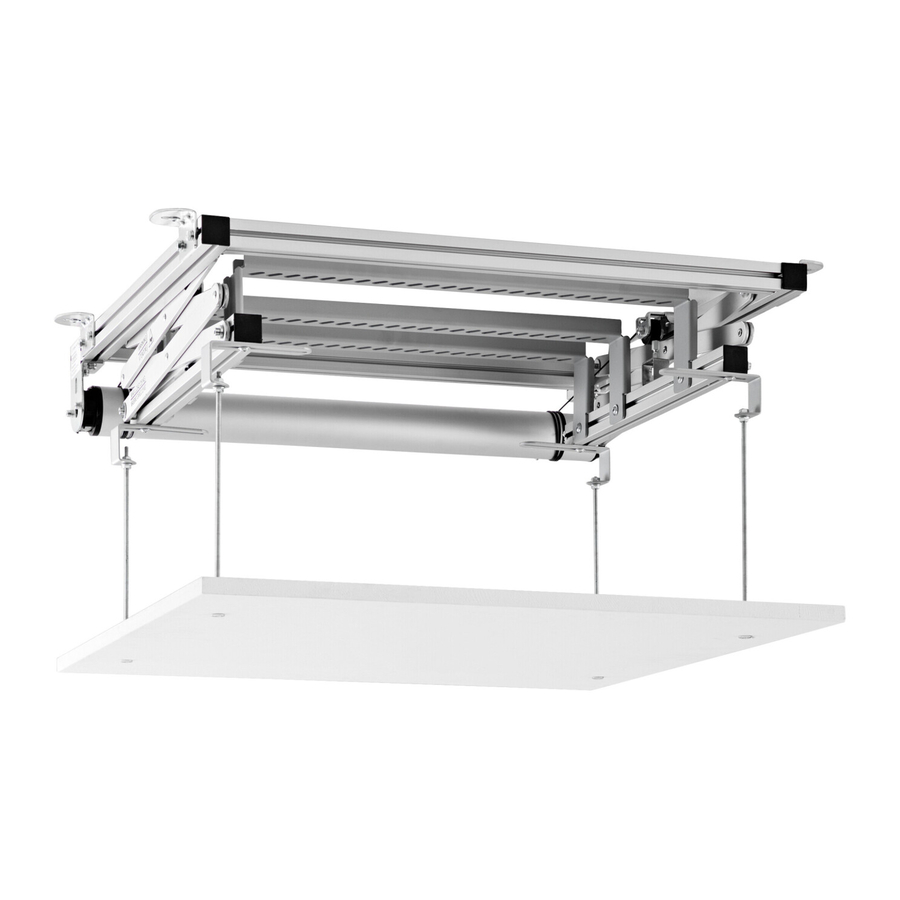
Use the 8 hex-headed screws to mount the 4 'L' shape
aluminium brackets to the lift as shown in fig 1.
Mount the lift to the ceiling using suitable wall plugs (not
supplied) and verify that the projector lift is perfectly
horizontal using a spirit level. Use washers to level the lift,
if required, between the brackets and the ceiling. Installing
the lift perfectly level is essential and ensures silent
movement of the lift without any shaking or jolting that
would compromise the alignment between projector and
projection screen (see fig 2).
4 x threaded bars M6x25mm
5 x cable ties
fig. L2
fig. M
1 x installation manual
4 x ceiling panel screws (L1)
4 x threaded ceiling panel
screws (L2)
4 x hex screws M6x10mm (M)
2
12 x M6 nuts
fig. 1
fig. 2
