Celexon DK500 사용 설명서 - 페이지 7
{카테고리_이름} Celexon DK500에 대한 사용 설명서을 온라인으로 검색하거나 PDF를 다운로드하세요. Celexon DK500 11 페이지. Document camera
Celexon DK500에 대해서도 마찬가지입니다: 사용자 설명서 (10 페이지)
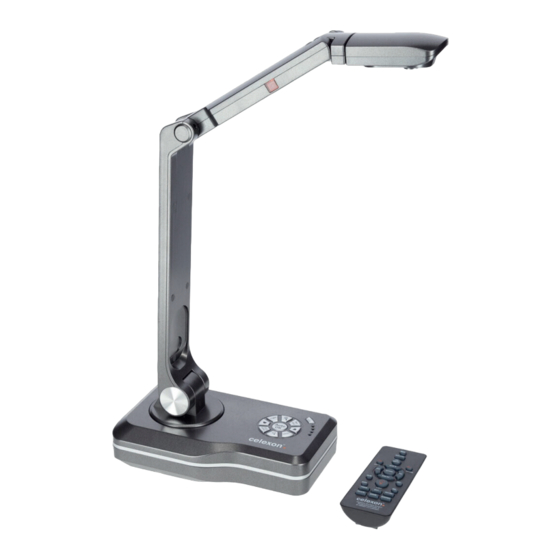
INPUTS AND OUTPUTS
SD card input:
Here you can connect an SD card to the unit in order to store photos or videos.
The SD card must be formatted in FAT32 format.
HDMI output:
The HDMI output allows you to display the image from the document camera
via a HDMI cable to a display device.
VGA input:
Via the VGA IN connector, another VGA signal (e.g. from a laptop) can be
transmitted to the display unit when the Visualizer is not in use.
VGA output:
Via the VGA output, you can display the image from the document camera or
the VGA-IN connector on a display unit.
USB port:
Via the USB output, you can (best with the celexon Visualizer software) display
the image from the document camera on a PC.
A HID-compliant mouse can also be connected here to control the menu.
USE WITHOUT A COMPUTER
1.
Connect the unit to your display device (touch capable if applicable) using
the included HDMI or VGA cable (image transfer) and, if desired, a USB 2.0
A-B printer cable (sold separately - for touch transfer).
2.
Connect the power supply unit to the mains.
3.
Now press the on/off switch on the Visualizer.
4.
If your display does not have an automatic source selection, select the
appropriate signal input on your display.
5.
The unit is ready for use and can be operated with the buttons on the unit.
6