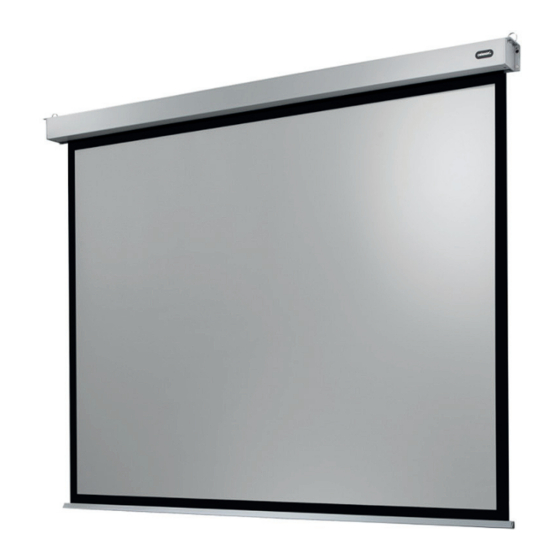
Celexon Professional Plus 설치 매뉴얼 - 페이지 7
{카테고리_이름} Celexon Professional Plus에 대한 설치 매뉴얼을 온라인으로 검색하거나 PDF를 다운로드하세요. Celexon Professional Plus 13 페이지. Screen
Celexon Professional Plus에 대해서도 마찬가지입니다: 사용자 설명서 (8 페이지), 사용 설명서 (6 페이지), 사용 설명서 (8 페이지), 사용 설명서 (11 페이지)

Installation of screen
2.
Loosen the screws of the mounting plate above the screen housing. Slide the
mounting plates to the ends of the housing and tighten the screws again (Figu-
re 2). Please ensure that the holes for the threaded rods are not covered by the
housing.
Figure 2
3.
Drill 4 holes in the load bearing ceiling and insert the wall plugs E. The distance
between the holes should be L + 40mm x 94mm. If necessary, use other wall
plugs and screws suitable for your specific requirements.
Now attach the two mounting brackets (A) to your ceiling. Please ensure that
brackets are securely fastened and provide a safe installation. Then attach the 4
threaded rods (D) to the mounting brackets and attach a nut to each rod (Fig 3).
Figure 3
6
